

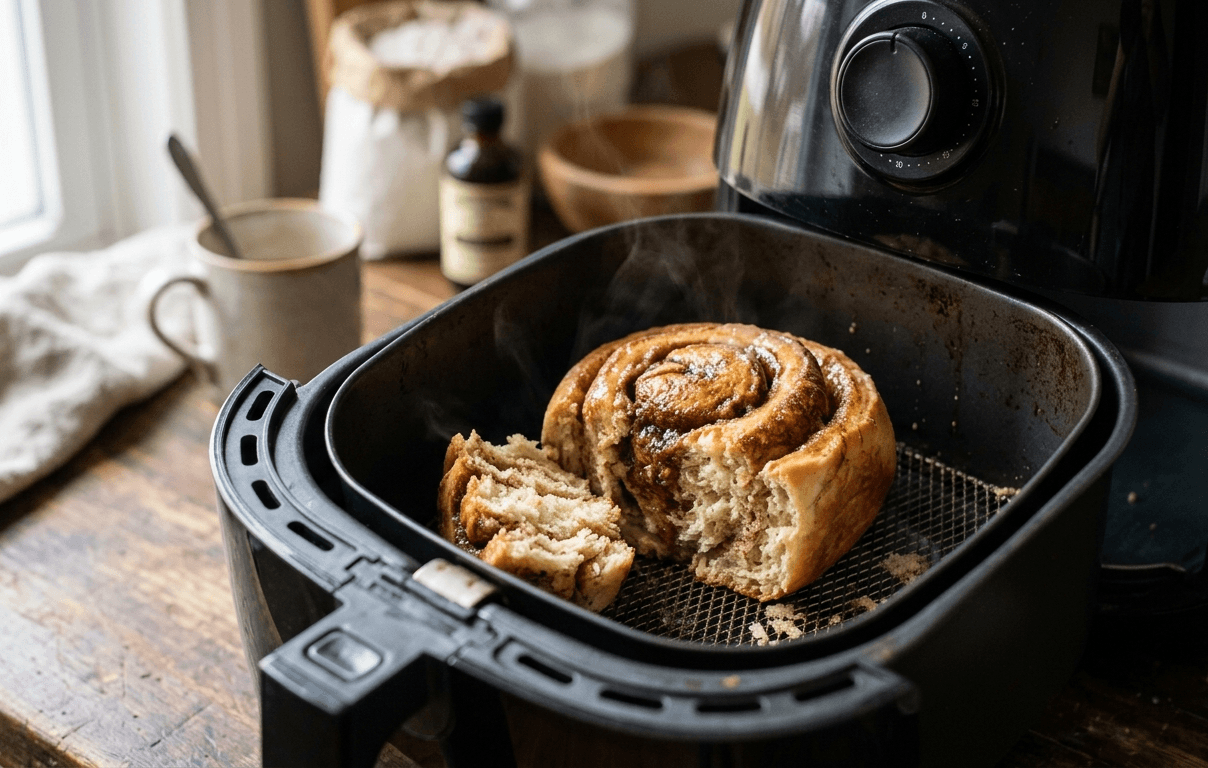
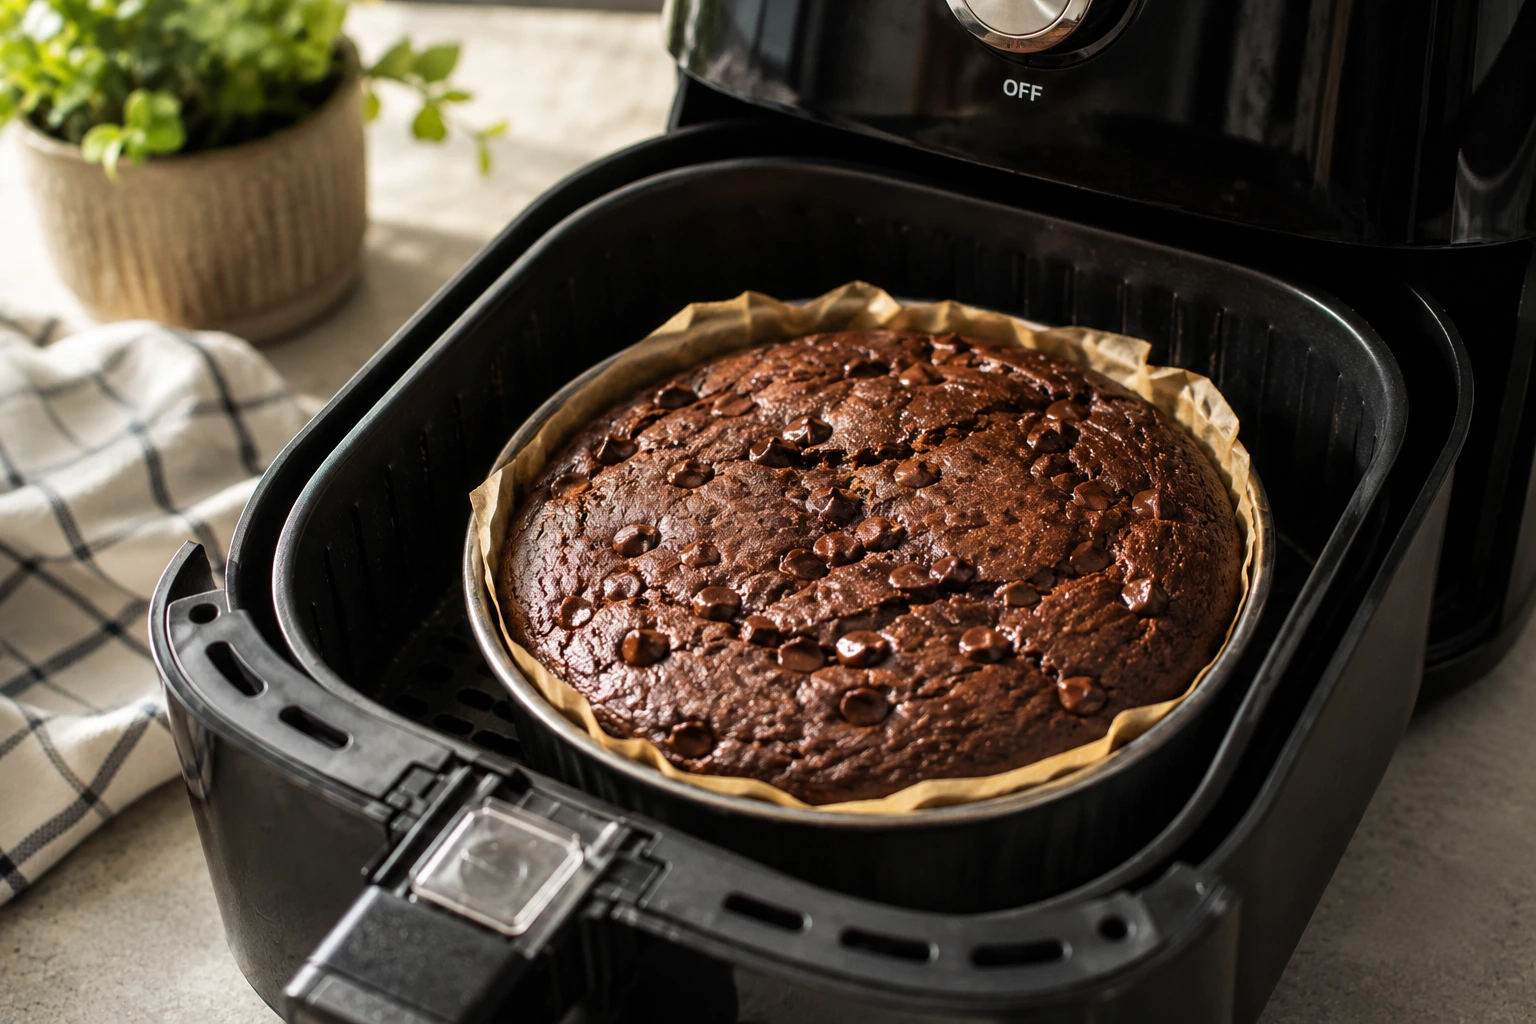
The cake that finally made me work this out was a vanilla loaf I had baked a hundred times in the oven. In the air fryer it came out looking correct, golden and risen and smelling right, and it was sand. Not burnt. Not undercooked. Just dry all the way through, the kind of crumb that pulls the moisture out of your mouth. I did what everyone does and dropped the temperature 25 degrees for the next one. It came out slightly less dry, and still not good.
The reason lowering the temperature only half worked is that dryness in an air fryer has two separate causes, and turning down the dial only addresses one of them. Once I understood the second one, the fix took about four minutes of extra effort and the loaf came out the way it does in the oven. Almost everything written about this topic covers the first cause and stops.
Quick answer: Air fryer bakes dry out for two reasons: overbaking, because the browned top makes them look done before they are, and evaporation, because moving air strips surface moisture in a way a still oven does not. Fix both. Pull cakes and quick breads at an internal temperature of 200 to 210°F rather than waiting for a clean toothpick, and tent the top loosely with foil once it has taken color, usually around the halfway mark. Those two changes fix most dry bakes on their own.
The two causes, separated
This is the part worth reading slowly, because everything else on the page follows from it.
Cause one: you baked it too long
An air fryer's heating element sits a few inches above the food and radiates down hard. The top of your bake takes color fast, which is a visual signal your brain reads as "done." So you either pull it late, having waited for the middle to catch up while the outside kept cooking, or you bake to a clean, dry toothpick, which for most cakes is already several minutes past the point of maximum moisture. This is the cause everyone writes about, and the standard advice to lower the temperature genuinely helps.
Cause two: the air itself is taking water out
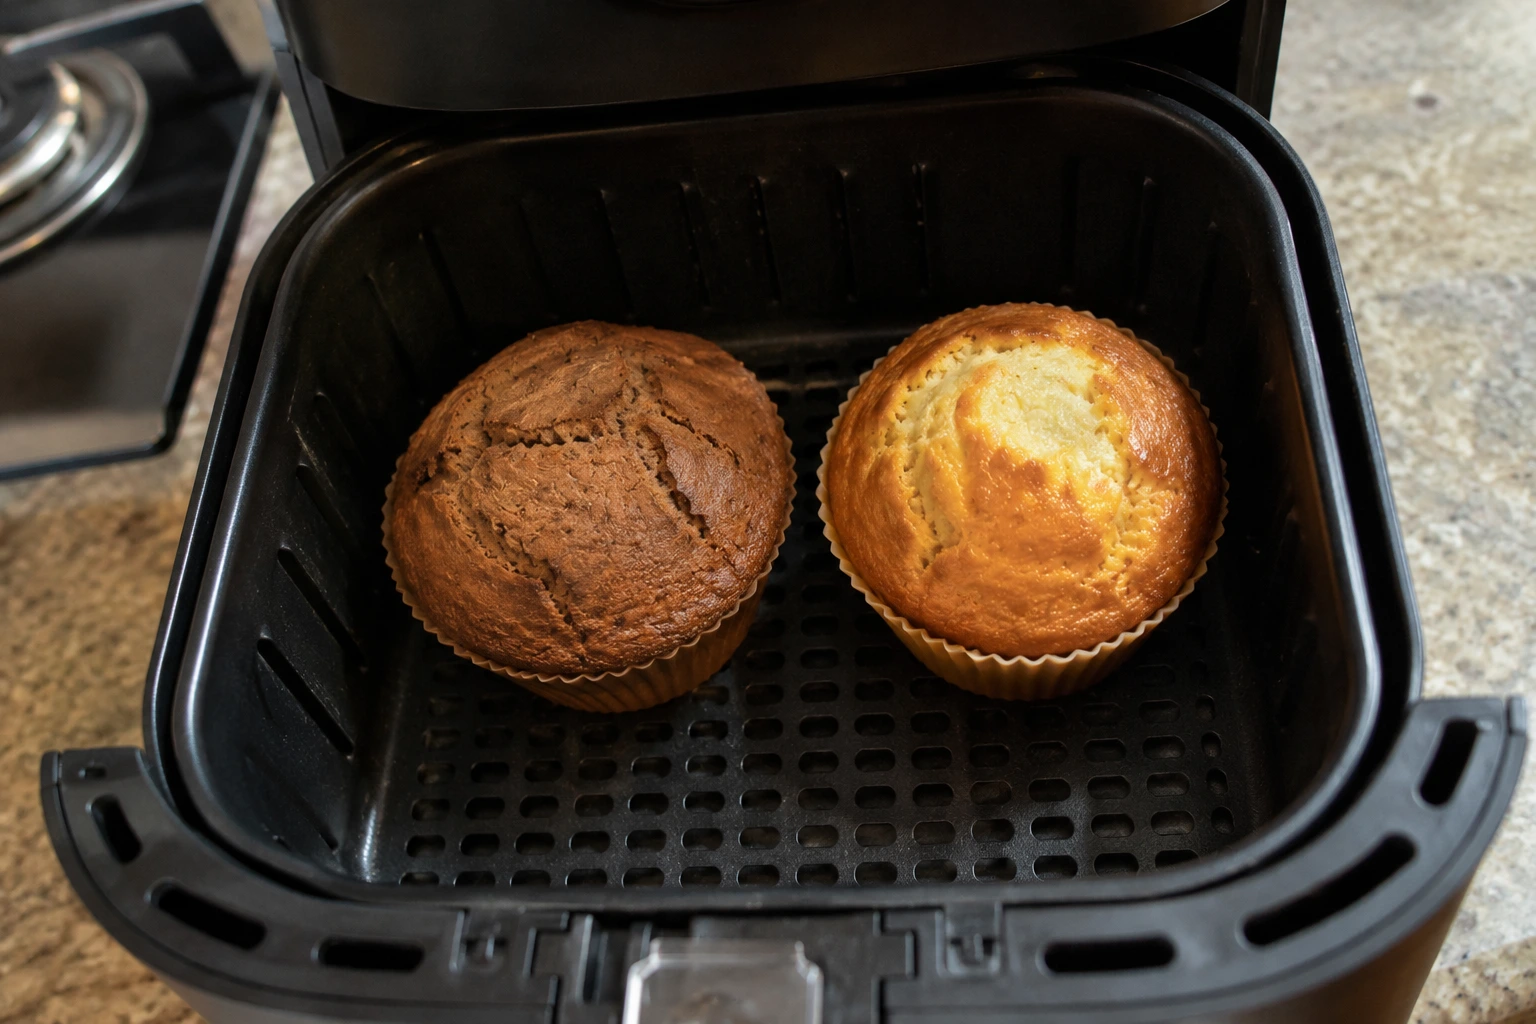
Here is the part that goes unmentioned. In a conventional oven the air is nearly still. As your cake bakes, the water leaving it stays in the oven cavity and raises the humidity around the cake, which then slows further evaporation. The bake creates its own protective microclimate.
An air fryer destroys that microclimate on purpose. The whole design is a fan continuously replacing the air around your food, which is exactly what makes it good at crisping chips and exactly what makes it hostile to a tender crumb. Humid air never gets a chance to sit around your cake. So even at the same temperature, baked to the same internal doneness, an air fryer bake loses more water than an oven bake.
That is why lowering the temperature alone is not enough. Lower heat fixes the overbaking problem and does almost nothing about the evaporation problem. You need one fix for each.
The two-part fix, in order of how much difference it makes:
- Stop overbaking: use an internal temperature, not a clean toothpick. Free, and the single biggest win.
- Stop evaporation: tent the top with foil once it has colored. Free, and the second biggest.
- Everything after that (pan shape, recipe tweaks, storage) is refinement.
The doneness temperatures that stop you overbaking
An instant-read thermometer is the most useful thing you can own for air fryer baking, and almost nobody uses one for cake. A clean toothpick means the crumb around it is already fully set and drying. These numbers mean the center has just finished, which is where the crumb is at its most tender.
| What you are baking | Pull at | Also look for |
|---|---|---|
| Butter or oil cakes | 200 to 205°F | Springs back when pressed lightly |
| Sponge & foam cakes | 205 to 210°F | Edges just pulling from the pan |
| Quick breads (banana, pumpkin) | 200 to 205°F | Crack down the middle looks set, not wet |
| Muffins | 200 to 205°F | Domed and firm at the edge, soft at the peak |
| Cupcakes | 200°F | Top springs back, no wobble |
| Fudgy brownies | 165 to 175°F | Toothpick with moist crumbs, never clean |
| Cakey brownies | 180 to 190°F | Edges set, center barely firm |
| Enriched breads & rolls | 190 to 200°F | Hollow sound when tapped underneath |
| Lean breads (crusty loaves) | 200 to 210°F | Deep crust, hollow tap |
| Cheesecake | 150°F at the center | Center still wobbles slightly |
| Cookies | Not temped | Edges set, centers still look soft |
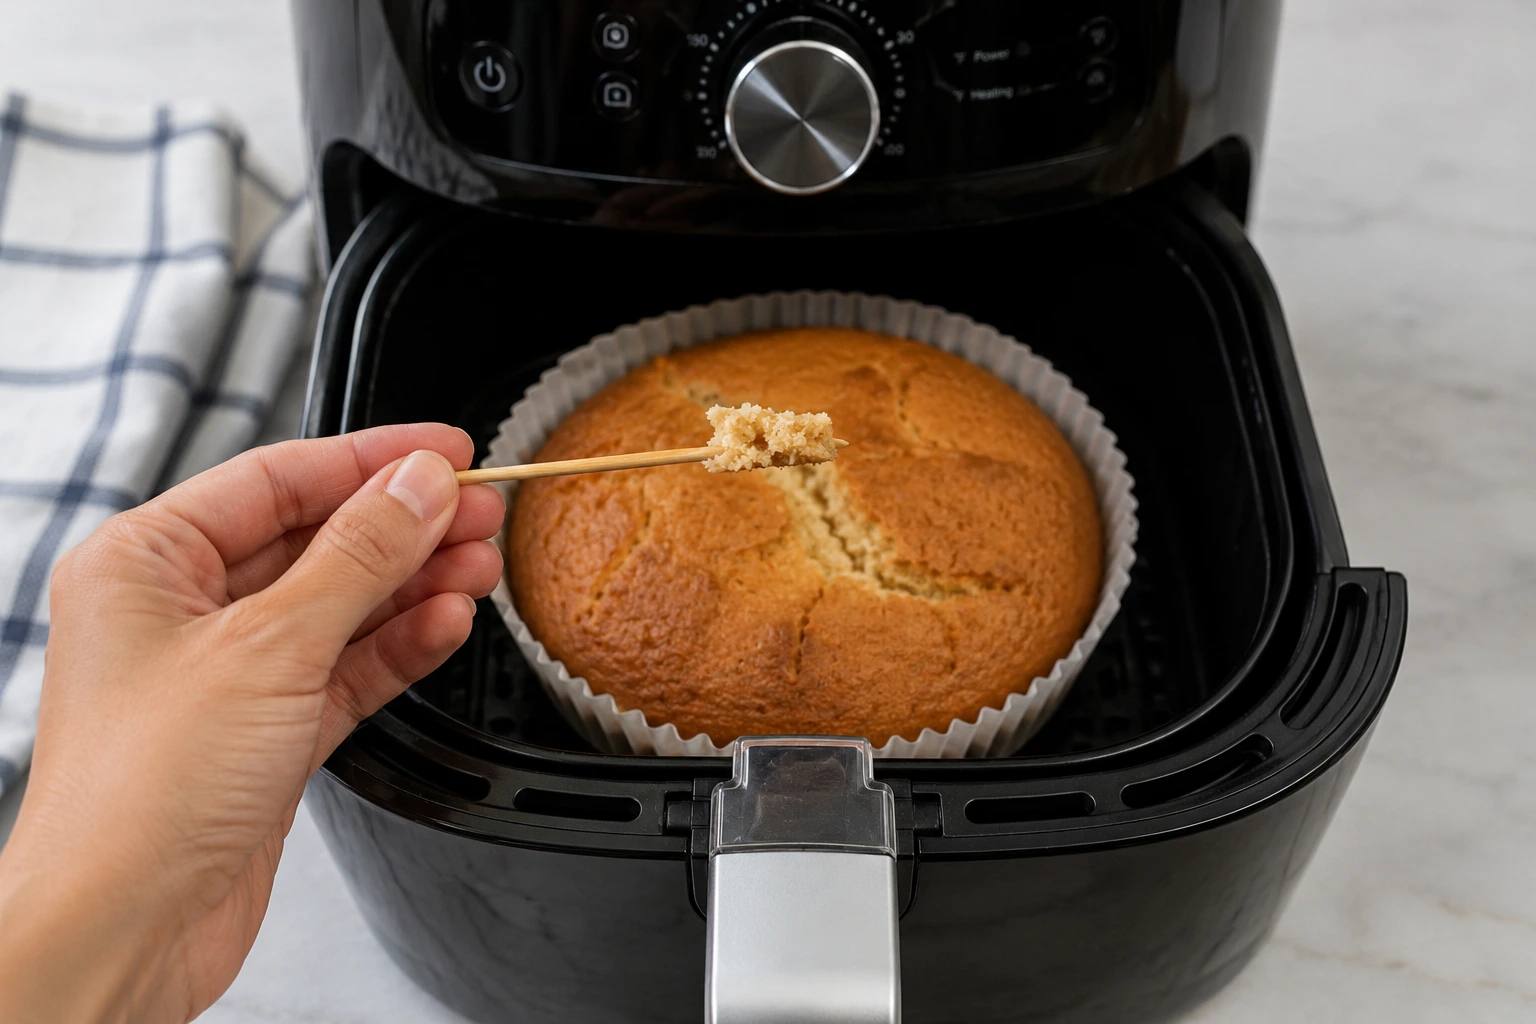
How to take the reading: push the probe into the thickest part, angled toward the center, and avoid touching the pan. If you hit a pocket of melted chocolate or fruit you will get a false reading, so take a second one an inch away. And start checking at about 70% of the stated bake time, because air fryer recipes run short more often than long.
The clean toothpick is the single most damaging habit in air fryer baking. It is a test designed for ovens, where a few extra minutes of gentle radiant heat costs you very little. In a fan-driven box, the minutes between "moist crumbs on the toothpick" and "clean toothpick" are the same minutes that turn a good crumb into a dry one. Pull at moist crumbs. The carryover heat finishes the job while it rests.
Getting the temperature conversion right in the first place
Most dry bakes start before the food goes in, at the moment somebody takes an oven recipe and guesses at the air fryer settings. The standard rule is to drop the temperature by about 25°F and cut the time by roughly 20%, and for baking I would push the temperature further down than that.
| Oven says | Use in the air fryer | And check at |
|---|---|---|
| 325°F | 300°F | 70% of the oven time |
| 350°F | 320 to 325°F | 70% of the oven time |
| 375°F | 340 to 350°F | 70% of the oven time |
| 400°F | 360 to 375°F | 65% of the oven time |
Rather than doing this in your head every time, run the recipe through our air fryer calculator. Put in the oven temperature and time, choose the food category, and it gives you the starting point. Two things worth knowing about the result: it is a starting point, not a promise, and for cakes and enriched doughs you can safely go a further 10°F below what it returns, because those are the bakes that punish high heat hardest. The calculator handles the part most people get wrong, which is the time reduction rather than the temperature.
For a fuller explanation of why the conversion works the way it does, our air fryer baking conversion guide goes into the reasoning, and the baking times and temps chart has the settings for common bakes already worked out.
The foil tent, and exactly when to use it
This is the fix for the evaporation problem, and it is the one I wish someone had told me before I wasted three loaves. A loose sheet of foil laid over the top of your bake does two things at once: it blocks the direct radiant heat that browns the top too fast, and it traps a pocket of humid air right against the surface of your cake, which is the microclimate the air fryer keeps stripping away.
How to do it
- Bake uncovered until the top has taken color. Usually somewhere between a third and halfway through. You want the surface set and golden, because that is when it stops being able to rise and starts being able to dry out.
- Lay foil loosely over the top. Not wrapped, not sealed, just resting. A tight seal steams the surface and you lose the crust entirely.
- Tuck the corners under the pan rim. This is the step people skip and then find their foil pinned against the heating element. The fan will lift anything it can get under.
- Leave it on for the rest of the bake. Take it off for the last two minutes only if you want a bit more color.
No foil? An inverted metal cake pan or an oven-safe lid resting on the rim does the same job. For small bakes, another silicone mold flipped over the top works. What you cannot use is parchment, which the fan will move.
Our guide on preventing burning in the air fryer covers the same technique from the browning side, and what is safe to use as foil and parchment has the safety rules.
Pan shape matters more than you would think
Evaporation happens at the surface, so the ratio of exposed surface to total volume decides how much water your bake can lose. A thin batter spread wide in a shallow pan has a large surface area and a small mass to lose it from, which is the worst possible combination. The same batter in a deeper, narrower pan has less exposed area and more mass, and it comes out noticeably moister.
| Choice | Effect on moisture | When to use it |
|---|---|---|
| Deep 6-inch round | Best. Small surface, good depth | Default for cakes in a 5 to 6 qt basket |
| Loaf pan | Very good. Narrow top surface | Quick breads, pound cake |
| Wide shallow pan | Worst. Maximum evaporation | Avoid unless you want a thin sheet |
| Silicone molds | Good sides, pale bottoms | Muffins and bars. Add 2 to 4 min |
| Individual ramekins | Good. Small and deep | Lava cakes, single servings |
| Dark metal | Browns faster, dries faster | Drop another 10°F if this is all you have |
If you are using silicone, it behaves differently enough to be worth its own read: our guide to using silicone molds in an air fryer covers why they need lower heat and more time. And air fryer accessories for bakers covers which pan sizes actually fit.
Recipe changes that hold water
If you are adapting an oven recipe and it keeps coming out dry even with the temperature and tent sorted, the formula itself can be nudged. These are in order of how much they help.
Add one of these per standard cake or loaf
- 2 tablespoons sour cream or yogurt
- 1 extra tablespoon oil
- ¼ cup applesauce or mashed banana
- 1 extra egg yolk
- 2 tablespoons buttermilk
- 1 tablespoon honey or brown sugar
- Swap some butter for oil. Butter is about 16% water, which evaporates. Oil is 100% fat and stays liquid at room temperature, so an oil-based cake reads as moist even days later. Replacing a third of the butter with oil is the single most effective formula change.
- Add an extra egg yolk. Yolks bring fat and emulsifiers, and they hold water in the crumb rather than letting it cook off. Yolk only, since extra whites do the opposite and dry things out.
- Use sour cream, yogurt, or buttermilk. Fat plus acid. The acid tenderizes the crumb by weakening gluten, and the fat coats the flour so it absorbs less water in the first place.
- Lean on brown sugar and honey. Both are hygroscopic, meaning they actively pull and hold moisture from the air. Swapping a quarter of white sugar for brown noticeably improves day-two texture.
- Do not add plain water or milk to "loosen" a batter. It is the intuitive move and it backfires. Thin batter spreads wider, exposes more surface, and evaporates faster. Add fat, not liquid.
Never overcook again
Get our one-page times & temps cheat sheet, plus a new tested recipe each week.
No spam · unsubscribe anytime
Fixes by bake type
Different bakes dry out in different ways, so the priority changes:
| Bake | How it goes wrong | The fix that matters most |
|---|---|---|
| Cakes | Top sets early, center overbakes catching up | Tent at the halfway point, pull at 205°F |
| Muffins | Small mass, huge exposed surface | Fill cups fuller, bake at 320°F, pull at 200°F |
| Cookies | Baked until the center looks done | Pull when centers still look underdone; they set on the rack |
| Brownies | Baked to a clean toothpick | Pull at 165 to 175°F with moist crumbs |
| Quick breads | Long bake, long evaporation window | Tent early, loaf pan not round, pull at 200°F |
| Yeast breads | Crust sets before crumb finishes | Tent after browning, pull at 190 to 200°F |
| Cheesecake | Overbaked past set, then cracks | Pull at 150°F with a slight wobble; cool slowly |
Rescuing a bake that is already dry
Nothing brings back a truly overbaked cake, but you can make it good again rather than throwing it out. In order of how well they work:
- Simple syrup soak. Equal parts sugar and water, warmed until dissolved, then brushed generously over the warm cake. Bakeries do this to every layer cake as standard practice. It is not cheating, it is technique, and it will rescue a dry sponge completely.
- Brush with warm milk or cream. Gentler than syrup and it works well on quick breads and muffins that are dry rather than parched.
- Wrap it warm. If you have just pulled it and can tell it is dry, wrap it in plastic while it is still warm. The escaping steam gets trapped and redistributes back into the crumb as it cools. This genuinely works and costs nothing.
- Frost or glaze it. Frosting seals the surface and adds moisture back over a few hours. A dry cake left frosted overnight is noticeably better the next day.
- Repurpose it. Dry cake makes excellent trifle, cake pops, or bread pudding. Dry muffins split and toasted with butter are a completely different and perfectly good thing.
Staying moist after it cools
Plenty of bakes come out fine and are dry by the next afternoon. That is a storage problem, not a baking one:
- Cool completely before covering, then cover immediately. Warm bakes in a sealed container go soggy on the outside; uncovered cooled bakes go stale fast. The window between the two is where you want to act.
- Airtight at room temperature, not the fridge. Refrigeration accelerates staling in most baked goods through starch retrogradation. Cakes, muffins and breads keep better on the counter for 2 to 3 days. Only refrigerate if there is dairy frosting or a custard filling.
- Add a slice of bread to the container. The old trick, and it works. Cookies and cake draw moisture from the bread rather than the air.
- Freeze on day one, not day three. Baked goods freeze beautifully at their peak and terribly after they have started to stale. Wrap individually while fresh.
- Reheating: 300°F for 2 to 3 minutes in the air fryer softens a day-old muffin or slice remarkably well. Cover it with foil so you are warming it rather than drying it further.
The six mistakes that cause most dry bakes
- Baking to a clean toothpick. Covered above, and it is the biggest one. Moist crumbs is the target.
- Using the oven temperature unchanged. A recipe written for 350°F in a still oven at 320°F in a fan-driven box are two different bakes.
- Never covering the top. The tent is free and it addresses the cause that lowering the temperature cannot touch.
- Opening the basket repeatedly. Every check dumps the warm air and restarts the recovery, extending total bake time. Check once at 70%, then only as needed.
- Measuring flour by scooping the cup into the bag. This compacts it and can add 20% more flour than the recipe intends, which is a guaranteed dry crumb before the air fryer gets involved. Spoon it into the cup and level, or weigh it.
- Baking one small item alone in a big basket. More empty space means more air moving past your food. A basket that is comfortably filled bakes gentler than one with a single lonely ramekin in it.
If dryness is not your only problem, troubleshooting air fryer baking covers sinking, burning, and uneven rise, and how to bake in an air fryer is the place to start if you are new to it.
Frequently asked questions
QWhy is my air fryer cake dry?
Two causes act together. You likely baked it slightly too long, because the top browns early and looks done before the center is, and the moving air stripped moisture from the surface the whole time, which a still oven does not do. Fix both: pull the cake at an internal temperature of 200 to 205°F instead of waiting for a clean toothpick, and lay foil loosely over the top once it has taken color.
QDoes an air fryer dry food out more than an oven?
For baking, yes. In an oven the air is nearly still, so moisture leaving your cake raises the humidity around it and slows further evaporation. An air fryer's fan continuously replaces that humid air with dry air, so the same bake at the same temperature loses more water. That is exactly what makes air fryers good at crisping and challenging for tender crumbs.
QWhat internal temperature should an air fryer cake be?
200 to 205°F for butter and oil cakes, 205 to 210°F for sponge cakes. Other bakes:
- Quick breads and muffins: 200 to 205°F
- Fudgy brownies: 165 to 175°F
- Enriched breads and rolls: 190 to 200°F
- Cheesecake: 150°F at the center
An instant-read thermometer is far more reliable than a toothpick, because a clean toothpick means the crumb around it is already set and drying.
QShould I cover my cake with foil in the air fryer?
Yes, once the top has taken color, usually between a third and halfway through. Lay the foil loosely rather than sealing it, and tuck the corners under the pan rim so the fan cannot lift it into the heating element. The tent blocks direct radiant heat and traps a humid pocket against the surface, which is the one thing lowering the temperature cannot do for you.
QHow much should I lower the temperature when baking in an air fryer?
At least 25°F below the oven temperature, and for cakes and enriched doughs I would go 30 to 35°F below. A 350°F oven recipe becomes 320 to 325°F. Cut the time too, and start checking at about 70% of the original. Running the numbers through our air fryer calculator gives you a reliable starting point rather than a guess.
QWhat ingredient keeps air fryer bakes moist?
Fat, and specifically oil over butter, since butter is about 16% water that evaporates while oil stays liquid. After that: an extra egg yolk, sour cream or yogurt for fat plus tenderizing acid, and brown sugar or honey, which are hygroscopic and hold onto moisture. Do not add plain water or milk to loosen a batter; thinner batter spreads wider, exposes more surface, and dries faster.
QWhy does the toothpick test not work well in an air fryer?
Because it was designed for ovens, where a few extra minutes of gentle radiant heat costs little. In a fan-driven box, the gap between "moist crumbs on the toothpick" and "completely clean toothpick" is the same gap between a tender crumb and a dry one. Pull at moist crumbs and let carryover heat finish the job while it rests.
QCan I put a dish of water in the air fryer to add moisture?
You can, and it helps a little on longer bakes, but be realistic about it. An air fryer vents continuously, so it cannot hold humidity the way a closed oven can, and most of that steam leaves before it does your cake any good. The foil tent is far more effective because it creates a humid pocket right at the surface of the food instead of trying to humidify the whole chamber. Use water in the drawer as a supplement, not the main fix.
QHow do I fix a cake that came out dry?
Brush it generously with warm simple syrup, equal parts sugar and water. Bakeries do this to layer cakes as standard practice and it will rescue a dry sponge completely. If it has just come out of the basket, wrapping it in plastic while still warm traps escaping steam and redistributes it back into the crumb. Frosting also seals the surface and improves things overnight.
QDoes pan size affect how dry my bake gets?
Significantly. Evaporation happens at the surface, so a wide shallow pan exposes a lot of area relative to the batter's mass and dries out fastest. A deeper, narrower pan of the same volume comes out noticeably moister. For most air fryer baskets a deep 6-inch round or a small loaf pan is the better choice, and dark metal pans need another 10°F off because they brown and dry faster.
QShould I store air fryer bakes in the fridge?
No, not unless there is dairy frosting or a custard filling. Refrigeration speeds up staling in most baked goods, so cakes, muffins and breads keep better in an airtight container at room temperature for 2 to 3 days. Cool completely first, then cover immediately, and freeze on day one rather than day three if you want to keep them longer.
QWhy are my air fryer muffins dry but the cake is fine?
Surface area. A muffin has a lot of exposed surface for a small amount of batter, so it loses a much larger share of its water than a cake does. Fill the cups fuller than you would for the oven, drop to around 320°F, and pull them at 200°F internal. They also overbake in a shorter window, so start checking two minutes earlier than you think.
If you change one thing after reading this, buy a cheap instant-read thermometer and stop using the toothpick. Pulling a cake at 205°F instead of at a clean toothpick fixed more dry bakes for me than every other tip on this page put together, and it takes three seconds. Then add the foil tent, which handles the half of the problem the temperature dial cannot reach. For where to go next, making air fryer bakes crispy is the opposite problem solved with the same physics, the baking times and temps chart saves you the math, and the air fryer calculator converts any oven recipe you want to try. Put the theory to work on our banana bread or carrot cake, both of which are forgiving enough to show you the difference.
You can also follow me on Instagram and Pinterest for more easy air fryer recipes.
Was this guide useful?