

My kitchen went gluten free the year my brother's daughter was diagnosed celiac at seven, and holidays stopped being simple. I did what everyone does first: bought a 1:1 blend, swapped it into my regular recipes, and produced a series of desserts with beautiful tops and centers like cold porridge. The blend was not the problem. The recipes were not really the problem. The problem was that gluten free batter is a different physical material, and I was baking it like it was the old one wearing a costume.
Here is what I wish someone had told me at the start: the air fryer is not the compromise appliance for gluten free baking, it is arguably the right one. Gluten free recipes already run small, because blends are expensive and leftovers stale fast, and small is the one format this machine does better than any oven. A basket can be a fully dedicated, crumb-controlled space in a shared kitchen. And the short preheat means the twenty minute experiment that teaches you your blend costs twenty minutes, not an hour. What the machine needs in exchange are four adjustments, and those four adjustments are this page.
Quick answer: Use a 1:1 blend and check its label for xanthan gum, adding 1/4 teaspoon per cup of flour only if it has none. Rest every batter 30 minutes so the starches finish drinking. Bake 10 degrees below the site's usual conversion, 300°F for cakes and quick breads, because gluten free batters set slower than their crusts form. And retire the toothpick completely: gluten free crumb reads wet on a pick long after it is done, so pull at 205°F in the center and not one cue sooner. The calibration cake below runs all four rules in one bake.
The appliance gluten free deserved
Small is the native format
Gluten free structure is fragile at scale; a 7 inch pan asks less of it than a 9x13 ever will. The machine and the diet independently arrived at the same pan size, which is a happy accident this whole site is built on.
A chamber you control
An oven is shared territory. A basket can be washed to bare metal, lined fresh, and dedicated entirely to safe food, which matters enormously at celiac strictness. The full protocol is below.
Cheap experiments
Every blend behaves differently, and the only way to learn yours is to bake with it. A machine that preheats in 3 minutes and bakes a test cake in 35 makes that education affordable.
The blend decision, settled
The gluten free aisle sells three genuinely different products under one label, and most recipe failures trace back to not knowing which one is in the bag:
| What the bag is | How to spot it | How to use it |
|---|---|---|
| 1:1 blend with xanthan included | "Xanthan gum" appears in the ingredient list | The default for everything on this page. Swap it cup for cup and add nothing; doubling the gum is how bakes turn dense and gummy |
| Blend without gum | Rice and starch blends, no gum listed | Fine, with the xanthan math below applied per recipe. More control, one more thing to measure |
| Single flours (almond, coconut, rice, oat) | One ingredient on the label | Not interchangeable with blends or each other. Almond wants recipes built for almond; coconut drinks four times its weight. Use them in recipes written for them, not as swaps |
Certified oats matter if celiac is at the table: oats themselves are gluten free, but commodity oats are milled alongside wheat, so the label needs to say certified gluten free. The same label check applies to baking powder, sprinkles and, absurdly, some powdered sugars.
Xanthan math
Xanthan gum is the stand-in for the stretch gluten used to provide, the net that holds bubbles in and keeps crumb from pouring out of the slice. The arithmetic is short and worth memorizing: 1/4 teaspoon per cup of flour for cakes, muffins and cookies, 1/2 teaspoon per cup for breads and doughs, and zero if your blend already includes it. The failure modes point in opposite directions, which makes diagnosis easy: too little and the bake crumbles into sand at a touch; too much and it turns dense, gummy and faintly slimy. When a bake fails, check which direction it failed and adjust by an eighth of a teaspoon, not by feel.
The 30 minute rest is law here
Regular readers know this site already rests batters: the corn muffins soak their cornmeal, the blueberry muffins thicken on the counter, the bread pudding drinks for twenty minutes. In gluten free baking, that habit stops being an upgrade and becomes the whole ballgame. Rice flour and starches absorb liquid far more slowly than wheat flour, and a batter baked immediately carries free water and ungelled starch straight into the machine, which is where gummy centers and gritty textures both come from. The same batter after 30 covered minutes on the counter is visibly thicker, bakes taller, and loses the sandy edge that makes people say gluten free like an apology. Overnight in the fridge is better still for muffins and pancakes. It is the cheapest fix in this entire guide and the one the roundup articles never mention.
The skin problem and the discount
Now the air fryer specific physics. A fan crusts every surface faster than a still oven, and gluten free batters set slower than wheat ones, because they are wetter by design and their structure comes from slow-gelling starch rather than fast-setting protein. Run both facts together and you get the signature failure of gluten free basket baking: a skin forms early, the interior keeps rising underneath it, and the skin either cracks into a canyon or, worse, seals the surface so moisture cannot leave and the center steams itself gummy under a finished-looking top.
The fix costs ten degrees. The air fryer calculator converts any oven recipe honestly, and for wheat baking this site usually takes that conversion straight or shaves a little for dense batters. For gluten free, make the discount standard: take the calculator's number and subtract 10 degrees, which lands cakes and quick breads at 300°F, muffins at 300 to 310°F, and cookies at 310°F. The bake runs a few minutes longer and the skin waits for the middle. It says something about this corner of the internet that the closest thing to a gluten free air fryer guide out there ends by telling readers to go find an air fryer calculator; here it is, one click up, and the whole settings ledger lives in the air fryer baking chart. A loose foil tent for the first half protects tall cakes further, per the foil and parchment guide.
Doneness: the toothpick retires
This site has spent twenty recipes arguing that the toothpick is unreliable. In gluten free baking it is worse than unreliable, it is actively misleading, because properly baked gluten free crumb is moist enough to read as raw on a pick for ten minutes past done, and bakers who chase a clean pick produce the dry, sawdust bakes the diet is unfairly famous for. Retire it completely and use the number: 205°F at the center for cakes, quick breads and muffins, a few degrees above the site's wheat standard because gluten free structure needs the extra starch-set, read on an instant-read thermometer in the second-cheapest purchase of this whole project. Then respect the cooling: gluten free structure is starch structure, and starch sets as it cools, so a cake that seems fragile at minute five is load-bearing at minute forty. Cutting early is how good bakes get blamed. Carryover is doing real work in that window; let it.
The dedicated basket protocol
For gluten intolerance, a good wash is enough. For celiac disease, where crumbs are measured in parts per million, the machine needs a protocol, and it is short:
- Best: a dedicated basket or machine. Baskets and crisper plates are sold separately for most models, and a second basket that has never met wheat ends the question for a shared kitchen.
- Shared machine: strip and scrub. Basket, crisper plate, and the drawer beneath, where crumbs collect and re-toast forever, washed to bare metal. Check the heating element shroud; wheat crumbs ride the fan.
- Parchment as the barrier, weighted by the food per the liner rules, plus silicone molds that live only with the gluten free supplies.
- The sneaky gluten is not in the basket. It is in the spray can with flour in the propellant, the shared butter dish with toast crumbs, the sprinkles, and the baking powder scooped with a floury spoon. Label checks and dedicated jars beat any amount of scrubbing.
The calibration cake
Every blend, machine and kitchen is slightly different, so this guide ends its theory section the way a lab course would: with one bake that tests everything. A plain 7 inch vanilla cake, one bowl, deliberately unfancy, that runs the blend check, the rest, the discount and the 205 pull in a single 35 minute experiment. Bake it once before you attempt anything ambitious and you will know exactly how your blend and your basket behave; the full method is in the recipe card below, and the pan size calculator confirms the 7 inch pan fits before you start. When it comes out right, you have not just made a cake, you have calibrated the machine, and every recipe after this one inherits the settings.
What to bake first, and what to skip
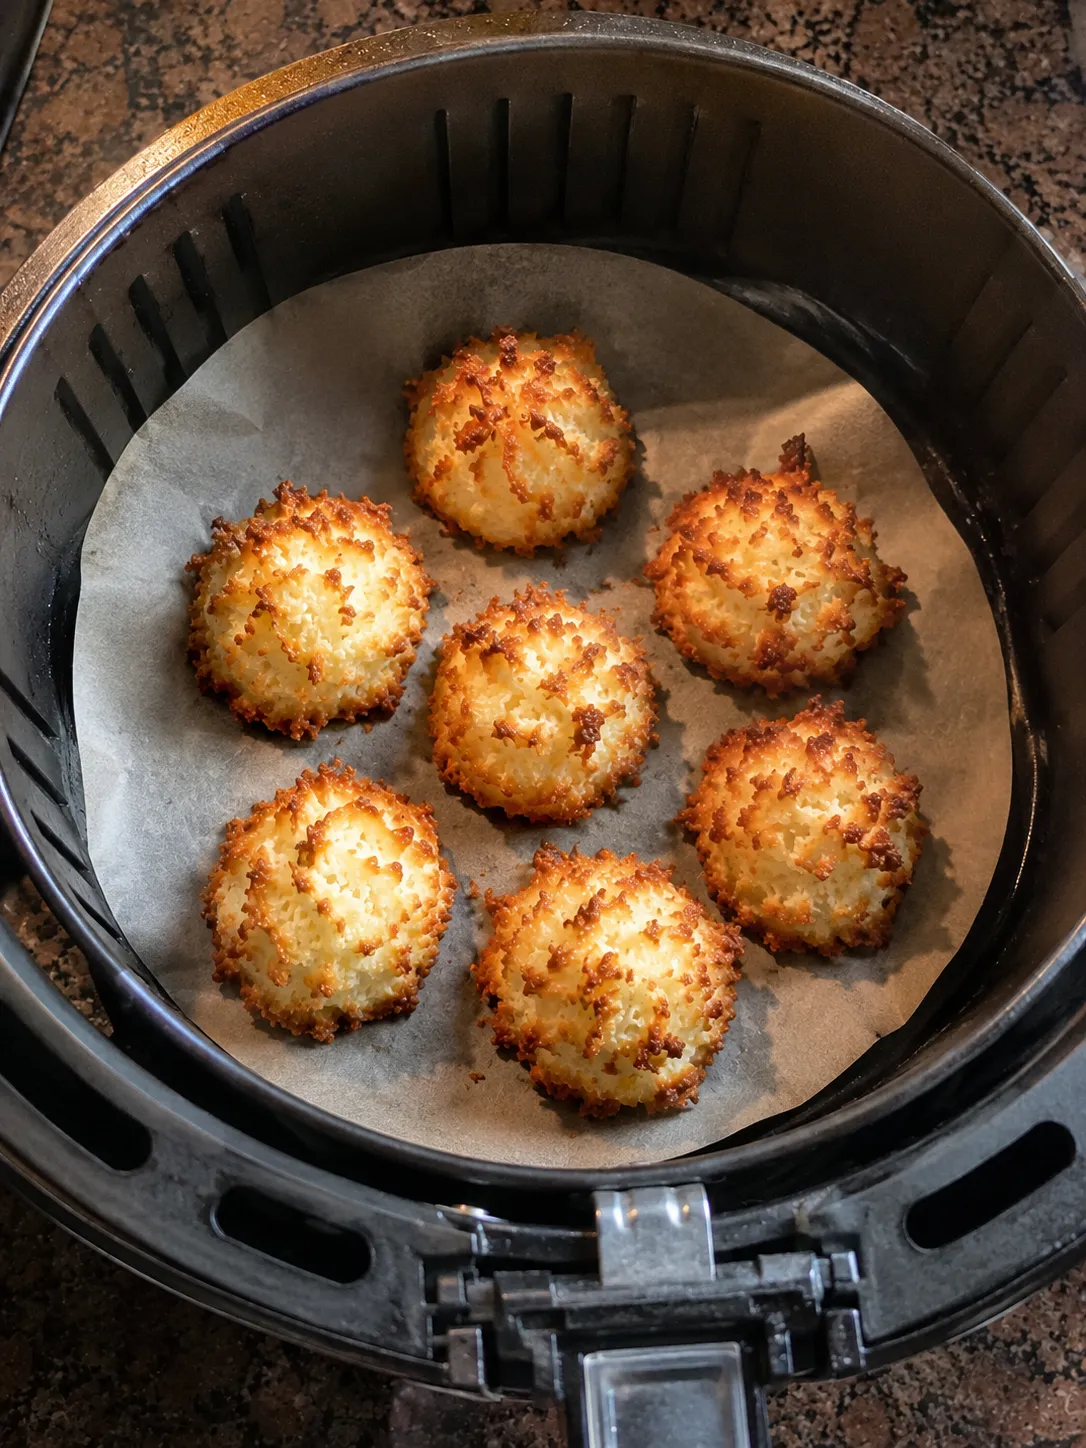
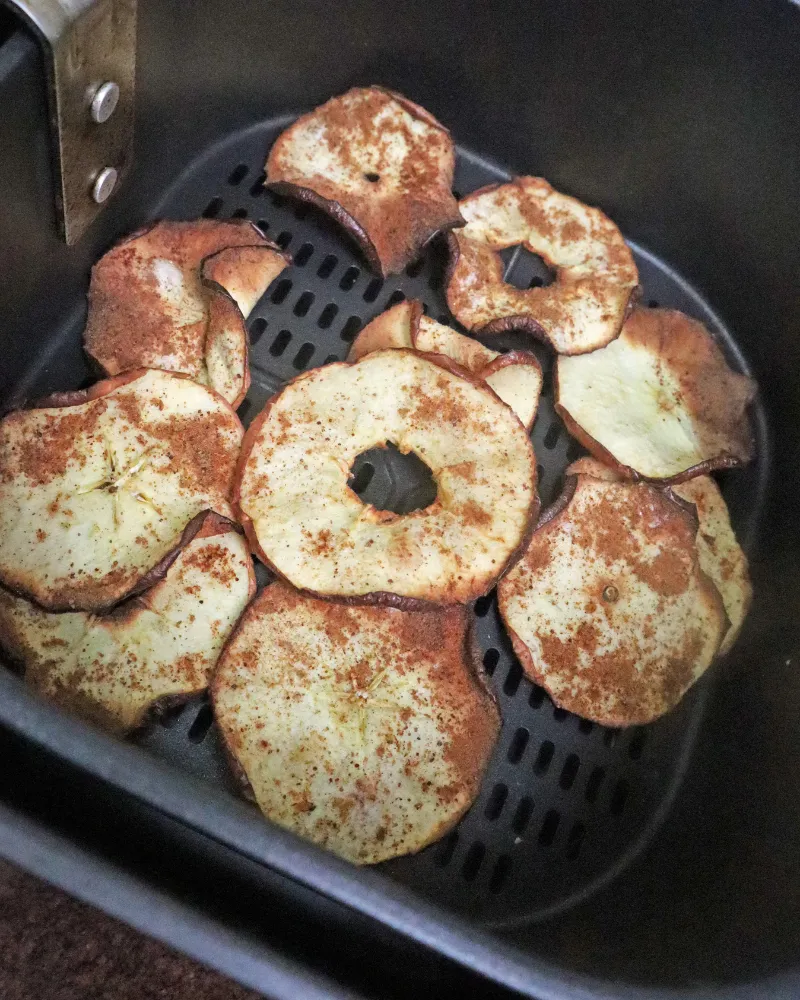
- Start where no conversion is needed: the coconut macaroons are naturally flourless, and the fruit desserts, baked apples and apple chips, never contained gluten to begin with. Wins on day one, zero science required.
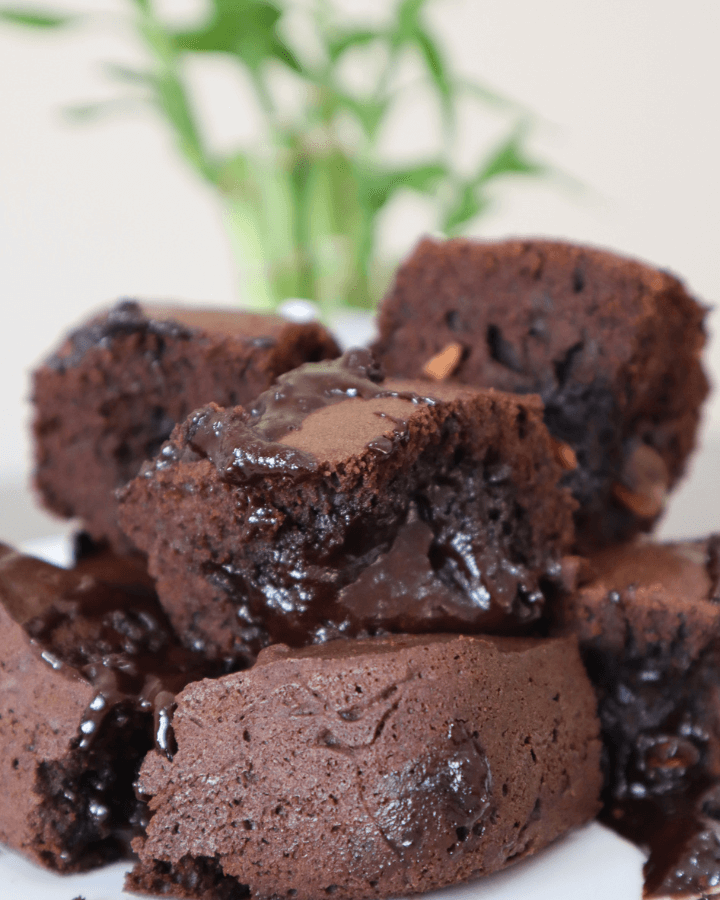
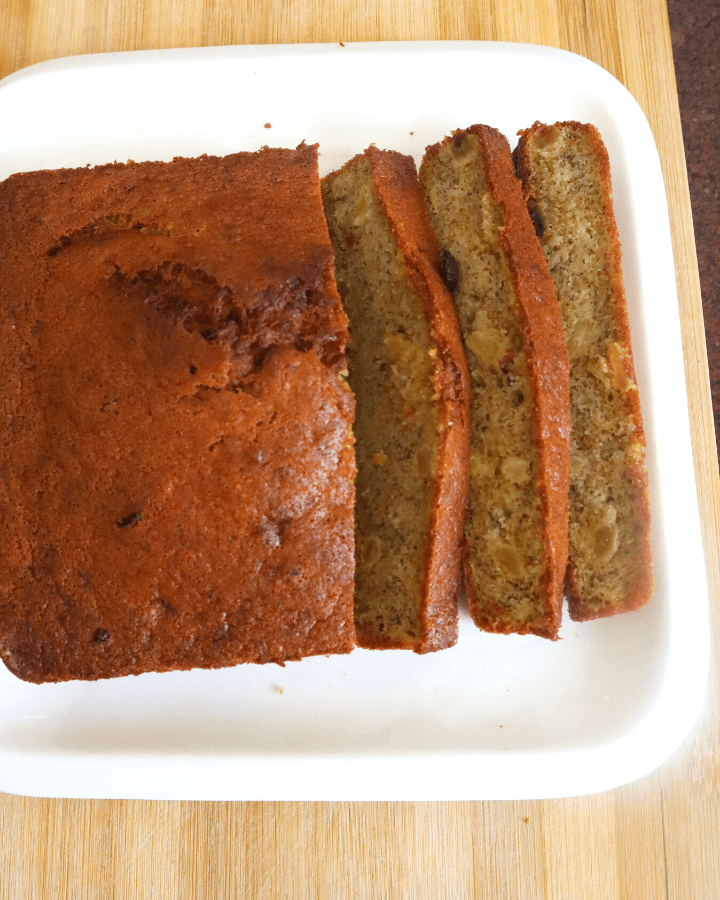
- Convert these first, because they forgive: the brownies and banana bread carry so much moisture and fat that a 1:1 blend slips in almost unnoticed, and the mug cake is a two minute blend test disguised as dessert.
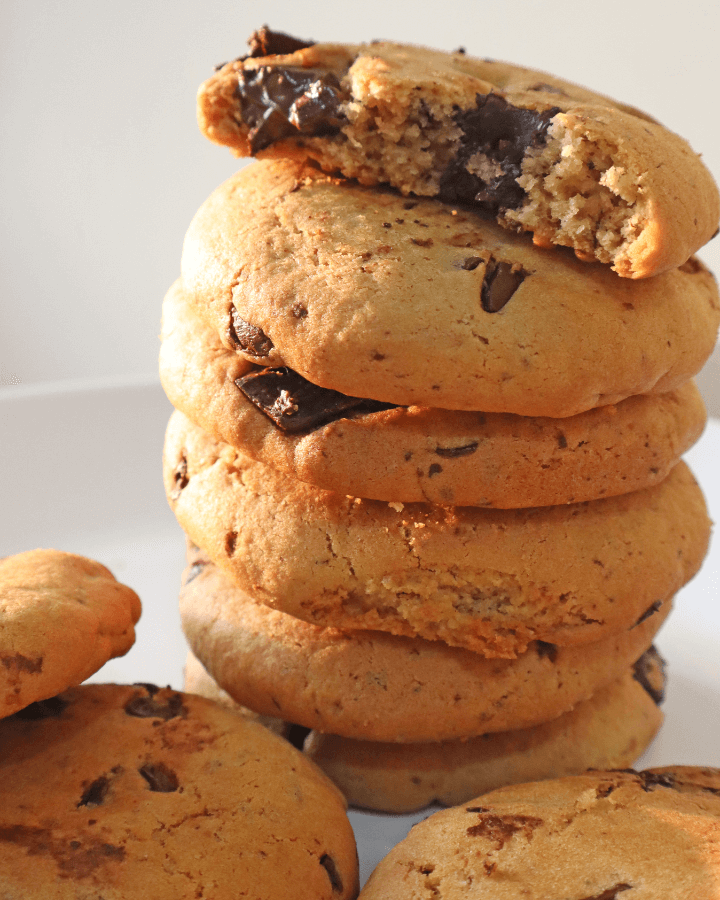
- Middle difficulty: the corn muffins, already built on gluten free cornmeal, need only the flour portion swapped, and the chocolate chip cookies want the full 30 minute rest and a 310°F dial.
- Skip, honestly: laminated pastry and choux, the croissants and churros of the world, depend on gluten's stretch in ways no blend replicates at home. The site's list of what a basket can and cannot do lives at what you can and cannot bake, and gluten free narrows it further. Spend those evenings on the things this diet does brilliantly instead.
- Scaling down for one or two is where gluten free shines anyway, and the recipe scaler halves any batter honestly, expensive blend conserved.
Troubleshooting
| What you got | Why | Fix |
|---|---|---|
| Gummy, wet center under a done top | The skin sealed before the middle set, or the pull trusted a look. | The 10 degree discount, the foil tent for tall bakes, and 205°F before anything leaves the machine. |
| Gritty, sandy texture | Unrested batter; the rice flour never finished drinking. | The 30 minute rest, no exceptions. Overnight for muffins. |
| Crumbles at a touch | Not enough binder for the recipe. | Check the blend's label; if no gum, the xanthan math above. Adjust upward an eighth teaspoon at a time. |
| Dense, slimy, oddly chewy | Double-gummed: a xanthan blend plus added xanthan. | One source of gum only. This is the single most common gluten free baking mistake in existence. |
| Canyon crack down the top | Skin set early and the rise split it. | Lower dial, tent the first half, and accept that a modest crack on a quick bread is character. |
| Dry by the next morning | Gluten free bakes stale at roughly double speed. | The 24 hour rule below, and the moisture playbook in the dry bakes guide. |
| Beany or metallic aftertaste | The blend's base flour showing through a lightly flavored bake. | Vanilla, citrus zest or cocoa carry a bake past it; or switch blend families, since rice, sorghum and bean bases taste different. |
| One side risen, one side low | A machine hot spot, which fragile batters exaggerate. | Half turn at the tent removal, and the wider fixes in the troubleshooting guide. |
Storage: the 24 hour rule
- Gluten free bakes stale in fast forward, because starch-set crumb recrystallizes quicker than gluten crumb. Plan around a 24 hour peak, not a three day one.
- Freeze on day one, sliced, wrapped, bagged. A frozen slice thawed 20 minutes or revived 2 minutes at 300°F is dramatically better than a counter slice on day three.
- The counter gets one day, airtight; the fridge is still the enemy of crumb, gluten or not, and stales it faster than the counter does.
- Revival works here too: 2 to 3 minutes at 300°F brings back muffin tops and cookie edges, the same trick the rest of the site leans on, and gluten free bakes need it a day sooner.
Frequently asked questions
QCan you bake gluten free in an air fryer?
Yes, and often better than in an oven: gluten free recipes already favor small pans, short experiments and dedicated equipment, which are the air fryer's three strengths. The adjustments that matter are baking about 10 degrees below the usual oven-to-air-fryer conversion, resting every batter 30 minutes, getting the xanthan amount right for your blend, and pulling by internal temperature instead of the toothpick, which misreads gluten free crumb badly.
QWhat is the best gluten free flour for air fryer baking?
A measure-for-measure 1:1 blend that already contains xanthan gum is the right default: it swaps cup for cup into most recipes and removes a variable while you learn. Blends without gum work identically once you add 1/4 teaspoon of xanthan per cup for cakes and cookies, 1/2 for breads. Single flours like almond and coconut are excellent in recipes written for them and disastrous as direct swaps, since coconut alone absorbs several times its weight in liquid.
QDo I need to add xanthan gum?
Only if your blend does not already include it, so the ingredient label decides. No gum listed: add 1/4 teaspoon per cup of flour for cakes, muffins and cookies, 1/2 teaspoon per cup for breads. Gum already listed: add nothing, because doubling up produces the dense, gummy, slightly slimy crumb that is the most common gluten free baking failure. Too little shows up as a bake that crumbles to sand; the two errors are easy to tell apart.
QWhy are my gluten free bakes gummy in the middle?
Two causes stack in an air fryer. The fan sets a skin on the surface before the slow-gelling gluten free interior has finished, trapping moisture under a done-looking top; bake 10 degrees cooler than the standard conversion and tent tall bakes with foil for the first half. And gluten free crumb reads wet on a toothpick long after it is baked, so pulls based on the pick are usually early. Bake to 205F at the center and let the bake cool before judging it.
QWhy do my gluten free bakes taste gritty?
The rice flour in most blends absorbs liquid slowly, and a batter baked immediately still has hard, undissolved particles in it. Rest every batter and dough 30 minutes, covered, on the counter before it bakes; muffin and pancake batters improve further overnight in the fridge. The grit disappears, the batter thickens visibly, and the bake rises taller for free. It is the least glamorous rule in gluten free baking and the most effective one.
QIs an air fryer safe for celiac disease?
It can be one of the safest tools in a shared kitchen, precisely because the cooking chamber is small and removable. Ideal is a dedicated basket or machine; workable is stripping a shared one to bare metal, including the drawer under the basket where crumbs collect, and baking on fresh parchment or dedicated silicone. Watch the quieter risks too: oil sprays with flour-based propellants, shared butter, and uncertified oats or sprinkles.
QWhat temperature should I use for gluten free baking in an air fryer?
Take the normal oven-to-air-fryer conversion and subtract 10 more degrees. In practice that means 300°F for cakes and quick breads, 300 to 310°F for muffins, and about 310°F for cookies, with a few extra minutes on the clock. Gluten free batters set slower than their surfaces crust, and the cooler dial keeps the skin from finishing first. Doneness is 205°F at the center regardless of what the clock says.
QWhat gluten free things should I bake first?
Start with bakes that were never gluten in the first place: coconut macaroons, baked apples, apple chips. Then convert the forgiving, moisture-heavy recipes, brownies and banana bread, where a 1:1 blend hides completely. Save yeasted breads for later, and skip laminated pastry and choux entirely; croissants and churros depend on gluten's stretch in ways home blends cannot fake, and the diet has better uses for those evenings.
QWhy do gluten free baked goods dry out so fast?
Their structure is set starch rather than gluten protein, and starch recrystallizes quickly as it cools, which is staling by another name. Expect a 24 hour peak: enjoy the bake fresh, then slice, wrap and freeze the rest on day one rather than watching it fade on a counter. A frozen slice revived for 2 minutes at 300F beats a day-three counter slice every single time, and the freezer costs nothing but planning.
Never overbake again
Get our one-page times & temps cheat sheet, plus a new tested recipe each week.
No spam · unsubscribe anytime