

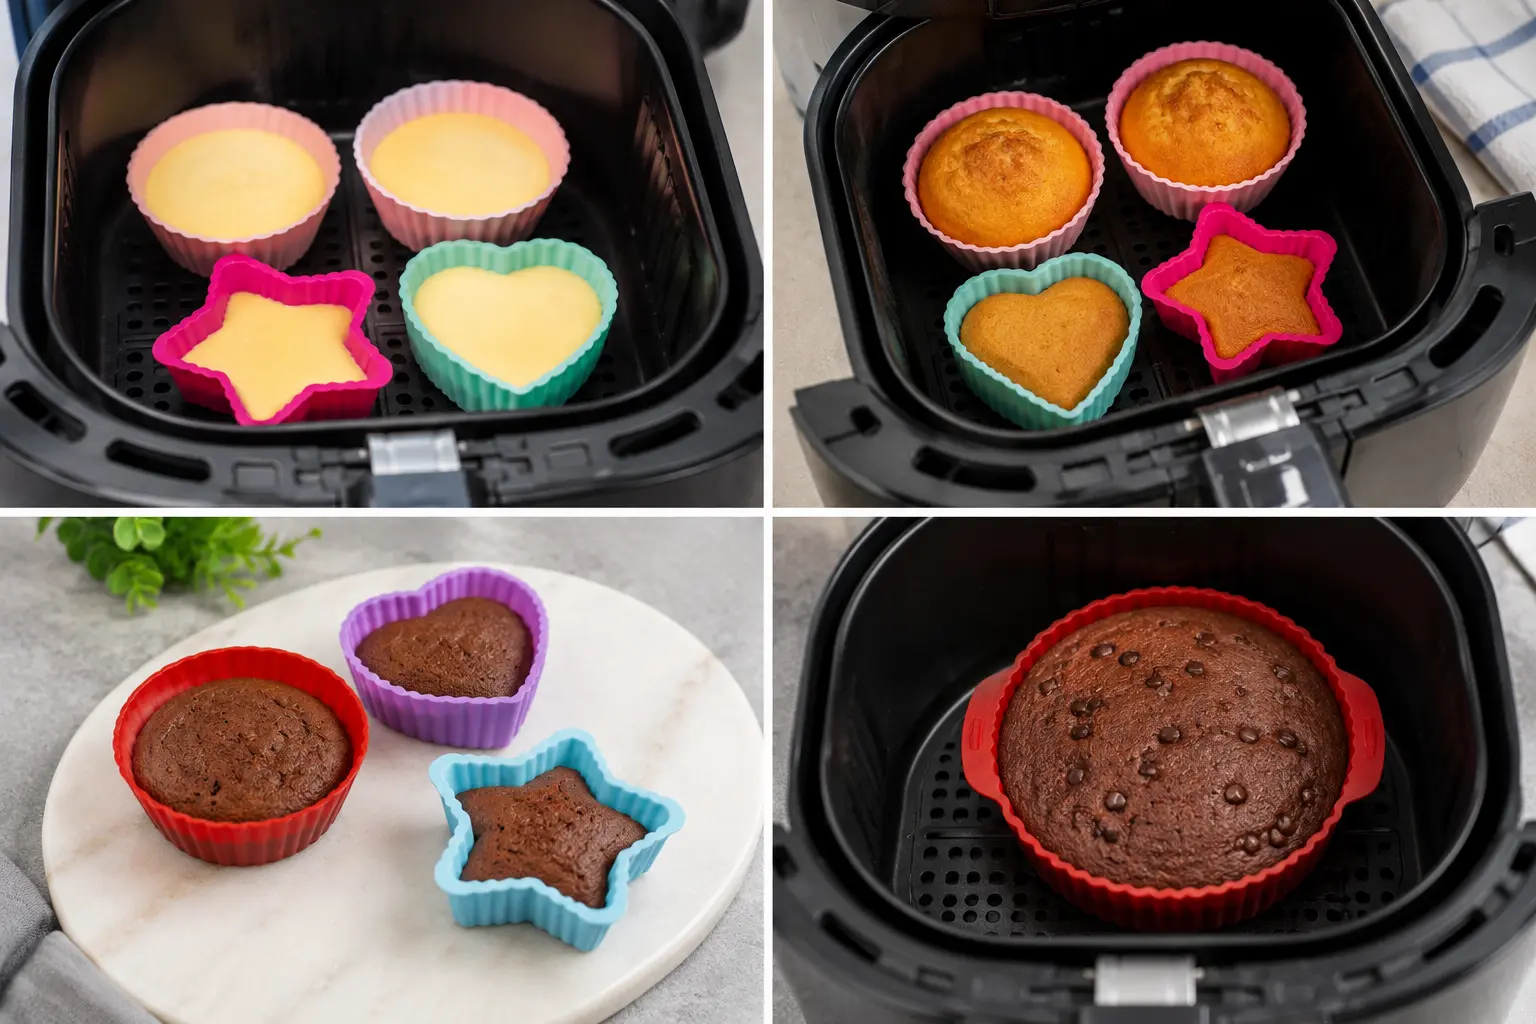
I bought my first silicone muffin mold because it was cheap, bright pink, and promised I would never grease a pan again. The first batch of muffins came out with tops I was proud of and bottoms that were pale, damp, and faintly rubbery, like they had been steamed rather than baked. I blamed the recipe. Then I blamed the air fryer. It took me three more batches to work out that the mold itself was the variable, and that I had been treating a piece of insulation like a piece of bakeware.
That is the thing nobody tells you. Silicone is not a neutral container. Metal pulls heat out of the air and drives it into your batter, which is how you get a browned bottom. Silicone does close to the opposite: it insulates, so the base of whatever you are baking sits in a warm pocket instead of against a hot surface. Everything about using these molds well comes from understanding that one difference, and once you do, they become genuinely useful for the handful of jobs they are actually good at.
Quick answer: Yes, silicone molds are safe in an air fryer. Food-grade silicone is rated for continuous use up to about 446°F (230°C), and most air fryers top out at 400°F, so you have real headroom. Because silicone insulates rather than conducts, drop the temperature about 10°F and add 2 to 4 minutes compared with the same recipe in a metal pan. Leave at least a half inch of clear space around the mold so air can still circulate, and never let a mold touch the heating element.
Are silicone molds actually safe in an air fryer?
Yes, with one caveat that matters more than the temperature question everyone asks about. Let me deal with both.
Search this topic and you will find heat limits quoted as 428°F, 446°F, 482°F and 500°F, all stated with total confidence on different pages. The reason for the spread is that people are quoting different things: peak short-term tolerance, continuous-use rating, and manufacturer marketing all give different numbers. The one worth using is the continuous-use rating for food-grade silicone, which is roughly −76°F to 446°F (−60°C to 230°C). Above that, silicone starts to fall outside the parameters it was tested against for food contact.
Now compare that with your machine. Most consumer air fryers max out at 400°F, and almost all baking happens between 300°F and 375°F. So for baking, the temperature question is close to a non-issue. You are working well inside the safe band.
The real risk is not heat. It is filler. Cheap silicone is often cut with plastic fillers to reduce cost, and those fillers do not have silicone's heat tolerance. A mold that is 100% silicone at 400°F is fine. A mold that is silicone blended with unknown fillers at 400°F is the one you should worry about, and there is no marking on the box that reliably tells you which you bought. That is why the test in the next section matters more than any number on this page.
Two other safety rules that are not negotiable, regardless of quality:
- Nothing touches the heating element. Silicone is heat resistant, not fireproof, and a lightweight mold that shifts upward in the airflow and contacts the coil will scorch and smoke. Keep molds low and centered.
- Never run silicone in an empty preheating basket. An empty mold has no food weighing it down, and the fan will lift it. Same rule as parchment, covered in our guide to foil and parchment in the air fryer.
The 5-second pinch test
Here is the test that actually tells you something about the mold in your drawer. Pinch a flat section of the silicone between your thumb and forefinger and twist it hard. Watch the stressed area.
- The color stays the same: a good sign. Higher-grade silicone, particularly platinum-cured, generally holds its color under stress.
- It turns white or pale where you twisted: the material contains filler. Cheaper molds use precipitated silica and plastic fillers that separate visually under stress, and those are the ones I would keep away from a 400°F basket.
An honest caveat, since most pages skip it: the pinch test is a screening test, not a lab result. Some legitimate fillers behave differently, and formal food-safety grading is done through chemical migration testing, not by twisting something in your kitchen. What the test reliably tells you is whether you are holding a cheaply blended product. That is worth five seconds, but treat a pass as reassurance rather than certification.
What to look for when you buy
Most silicone molds sold for air fryers are fine. The bad ones tend to be the unbranded multi-packs. Here is the short list I use:
- A stated temperature rating, in numbers
- "Platinum cured" on the packaging
- LFGB certified (stricter than FDA)
- FDA 21 CFR 177.2600 compliant
- Thick, firm walls that hold their shape
- A rigid rim or built-in handles
On the certifications: FDA compliance is the baseline in the US. LFGB is the German standard and it is meaningfully stricter, so a mold advertising LFGB has cleared a higher bar. Platinum cured refers to how the silicone was set: platinum curing leaves fewer residual byproducts than the cheaper peroxide method. You will pay a few dollars more and the mold will last years longer.
On stiffness: this one is purely practical and it is the mistake I made. A floppy mold full of batter is genuinely difficult to move without spilling, and it will sag through the holes in a basket floor. Firm walls, or a rim you can grip, saves you more frustration than any other feature. Our roundup of air fryer accessories for bakers covers which shapes are worth owning.
Molds that pass this checklist
These four cover the jobs this guide keeps coming back to, and each one holds up against the checklist above. The links go to Amazon and we may earn a small commission, which never changes what we recommend.
Whatever you buy, run the pinch test from above on arrival. Certification printed on a box is good; a mold that passes in your hand is better.
What silicone actually does to your bake
This is the section the rest of the guide hangs on. Metal and silicone are opposites in the one property that matters here.
Metal conducts. It absorbs heat from the air fast and passes it straight into the batter touching it, which is why a metal pan gives you browned, slightly crisp edges and a set bottom.
Silicone insulates. It resists passing heat through, so the batter against it heats slowly and gently. Three consequences follow, and every silicone quirk you have run into is one of them:
- No browning on the bottom or sides. Not a fault, just physics. Anything baked in silicone comes out pale everywhere it touched the mold. If you want a browned base, silicone is the wrong tool.
- Longer bake times. Heat takes longer to reach the center, so the same batter needs a few more minutes than it would in metal.
- The top-to-bottom gap widens. Your air fryer's element is a few inches above the food and radiating down hard, while the base of the mold is insulated. The top races ahead of the bottom, which is exactly why my first muffins had good tops and damp bottoms.
That third point is the same problem that shows up all over air fryer baking, and the fix is the same one this site keeps landing on: bring the temperature down and give it more time, so the middle catches up before the top overshoots. Our guide on avoiding dry air fryer bakes covers the same principle for pans of every material.
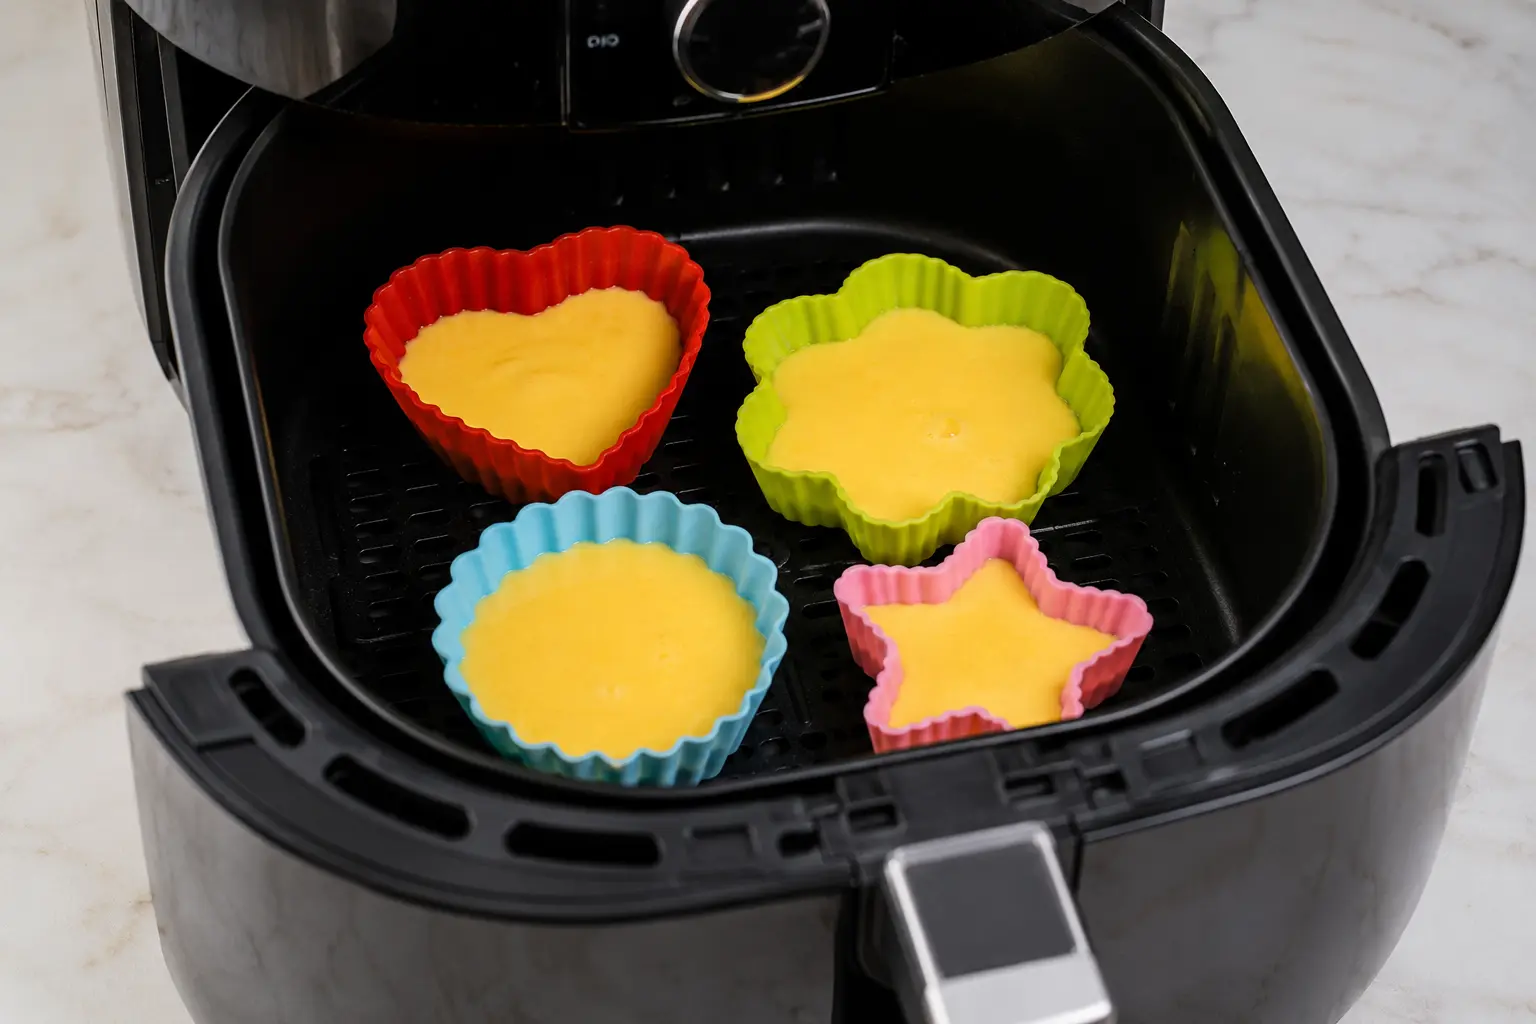
Time and temperature adjustments for silicone
Start from whatever the recipe says for a metal pan, then apply this:
| What you are baking | Temp change | Time change | Note |
|---|---|---|---|
| Muffins & cupcakes | −10°F | +2 to 3 min | Fill two-thirds; they rise more in silicone. |
| Cakes (6 to 7 inch round) | −10°F | +4 to 6 min | Test the center with a skewer, not the clock. |
| Brownies & bars | −10°F | +3 to 4 min | Silicone suits these best. No crisp edge needed. |
| Egg bites | No change | +1 to 2 min | Gentle heat is an advantage here. |
| Mini cheesecakes | −15°F | +3 to 5 min | Low and slow prevents cracking. |
| Bread & rolls | −10°F | +4 to 5 min | Expect a pale, soft crust all round. |
| Anything meant to be crisp | Do not use silicone. See the section below. | ||
Converting an oven recipe into a silicone mold? Do it in two steps rather than guessing at both at once. First run the oven numbers through our air fryer calculator to get the base air fryer temperature and time, then apply the silicone adjustment from the table above on top of that result. Two small corrections in sequence land far closer than one large guess, and the calculator handles the part most people get wrong, which is the time reduction rather than the temperature.
What actually fits your basket
Measure the flat floor of your basket, corner to corner if it is square, then subtract about half an inch on every side for airflow. That gap is not optional; a mold pressed against the basket wall creates a dead zone where nothing circulates.
| Air fryer | Usable floor | What fits |
|---|---|---|
| 3 to 4 quart basket | ~6.5 to 7 in | 4 individual cups, or a 5 in round mold |
| 5 to 6 quart basket | ~7.5 to 8.5 in | 6-cup muffin tray, or a 6 in round mold |
| 8 quart or dual-basket zone | ~9 in | 7 in round, or 6 cups plus space |
| Oven-style air fryer | 10 to 12 in rack | Loaf molds and full muffin trays |
On loaf molds: these are the ones that most often do not fit. A standard silicone loaf mold is 8 to 9 inches long, which will not sit flat in most round baskets. Check before you buy, or plan on an oven-style machine.
How to use silicone molds in an air fryer, step by step
- Check the mold before the first use. Give it the pinch test, confirm the temperature rating, and wash it with hot soapy water. New silicone sometimes carries a manufacturing smell; the cleaning section below deals with that.
- Preheat the air fryer, not the mold. Three minutes at your cooking temperature, with the empty mold outside the machine. An empty mold in a preheating basket will be picked up by the fan.
- Grease it lightly anyway. Silicone is non-stick, but a light spray still helps with sticky batters, egg mixtures, and anything sugary, and it makes cleanup faster. Skip it for plain cake batter if you prefer.
- Fill two-thirds full, no more. Batter rises more in silicone than in metal because the flexible walls give slightly as it expands. Overfilled molds spill into the basket, and burnt batter on the basket floor is the smell you will notice for the next three cooks.
- Put the mold on a rack or trivet if you have one. This is the fix most guides miss. Lifting the mold off the solid basket floor lets air move underneath, which cuts straight into the pale, damp bottom problem. Even a cheap metal trivet makes a visible difference.
- Leave a half inch of clear space all around. Center the mold, and do not push it against the wall to fit a second one in. If two molds do not both fit with space, run two batches.
- Set the adjusted temperature and time. The recipe's metal-pan setting minus 10°F, with 2 to 4 minutes added, per the table above.
- Cool 5 to 10 minutes in the mold before unmolding. Non-negotiable, and the source of most silicone disasters. Hot bakes have not set, and silicone's flexibility means the mold will bend before the food releases, which tears it in half. Wait, then peel the mold back from the edge rather than pushing from underneath.
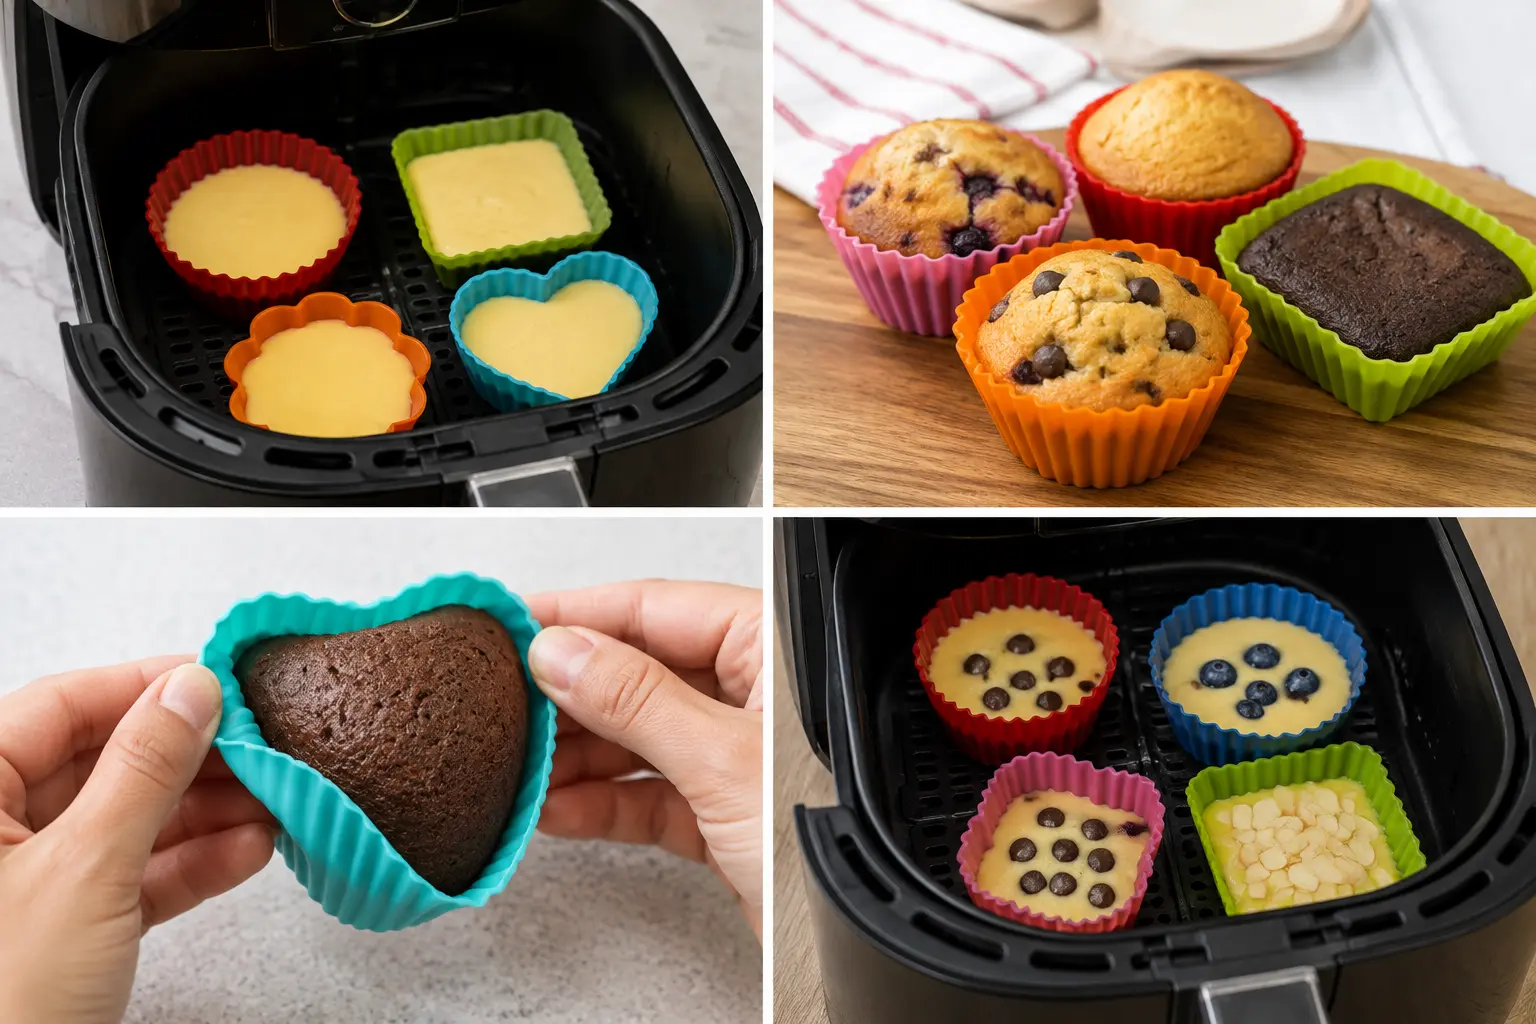
What silicone is great for, and what to never use it for
This is a tool with a narrow, real strength. Using it outside that range is where the disappointment comes from.
| Use silicone for | Why it wins |
|---|---|
| Muffins & cupcakes | Release cleanly, no liners, no greasing a tin |
| Egg bites & frittata cups | Gentle heat keeps eggs tender instead of rubbery |
| Brownies & bars | Lift out whole, no crisp edge lost |
| Mini cheesecakes | No springform needed, push up from below |
| Molten lava cakes | Unmold intact, which metal ramekins fight you on |
| Melting & setting (chocolate, freezer treats) | Flexible walls release set foods perfectly |
And the other side, which matters more:
Do not use silicone for anything whose whole point is crisp. Fries, wings, breaded chicken, roast potatoes, tots, anything with a coating. A silicone mold or liner is a solid barrier sitting between your food and the airflow coming up through the basket floor. That airflow is the entire mechanism that dries the surface and makes it crisp, and blocking it turns the bottom of your food from crunchy to steamed. If you want crisp, put the food on the bare basket.
The rescue, if you are already committed: cook in the silicone for most of the time, then lift the food out onto the bare basket for the last 3 to 4 minutes. You get the easy handling and most of the crunch back.
Fixing the five problems people actually hit
The bottoms came out pale and damp
The signature silicone complaint, and it is insulation doing exactly what insulation does. Three fixes, in order of effect: set the mold on a rack or trivet so air moves underneath, add 2 to 3 minutes at a slightly lower temperature so the base has time to set, and accept that a browned bottom is not something silicone will ever give you. If browning is the goal, use a metal pan. Our post on making air fryer bakes crispy goes further on this.
The mold tipped over and dumped the batter
Flexible walls plus liquid batter plus the jolt of sliding a basket in equals a mess, and it is the most common first-time failure. Fill the mold after it is already sitting in the basket if the mold is a floppy one. For trays of cups, carry it on a flat baking sheet or a rigid trivet and slide the whole assembly in together. Firm-walled molds with a rim mostly solve this by design.
It tore or the bake fell apart when I unmolded it
Unmolded too early, almost every time. Give it 5 to 10 minutes; the structure sets as it cools, and the difference between minute two and minute eight is dramatic. When you do unmold, peel the silicone back and away from the edge like you are taking off a glove, rather than pushing up from the base, which stresses the middle of a soft bake.
Everything I cook now tastes faintly of the last thing
Silicone is slightly porous and holds onto oils, especially strong ones like garlic, curry, and bacon fat. Cheaper filled silicone does this much more than good silicone, so persistent odor is itself a quality signal. The fix is in the cleaning section below, and the prevention is to keep one mold for sweet bakes and another for savory.
The mold moved and touched the heating element
Empty or nearly empty molds are light enough for the fan to lift, particularly in high-powered machines. Never preheat with an empty mold in the basket, keep the mold centered and low, and if you are baking something very light, weigh the situation down by filling more cups. If a mold has already contacted the element and scorched, stop using it; the damaged area is compromised.
Cleaning, odor, and how long they last
- Everyday cleaning: hot soapy water and a soft sponge. Dishwasher-safe on the top rack, though handwashing keeps them in better shape longer. Never use an abrasive scourer; scratched silicone grips food and picks up odor faster.
- Greasy film that will not shift: the classic silicone problem. Make a paste of baking soda and a little water, coat the mold, leave it an hour, then scrub and rinse. This works better than repeated washing.
- Lingering smells: run the clean, empty, dry mold in the air fryer at 250°F for 10 minutes with nothing in it. The gentle heat drives off absorbed oils. A soak in equal parts white vinegar and water for 30 minutes is the alternative.
- Drying: dry completely before stacking. Trapped moisture between stacked molds is how they start smelling musty.
- Lifespan: a good mold lasts years. Replace it when it turns sticky or tacky to the touch when clean, develops a permanent smell, or shows cracks, tears, or scorch marks. Sticky silicone is degrading silicone.
For everything else in your basket, our air fryer bakeware cleaning guide covers metal pans, racks and the basket itself.
Silicone vs metal vs paper liners
They are not competing for the same job, which is the useful way to think about it:
| Silicone mold | Metal pan | Paper liner | |
|---|---|---|---|
| Browns the bottom | No | Yes, well | Barely |
| Release | Excellent | Needs greasing | Good |
| Bake time | +2 to 6 min | Baseline | Baseline |
| Blocks airflow | Yes, underneath | Yes, underneath | Yes, if solid |
| Reusable | Years | Years | Single use |
| Best for | Muffins, egg bites, bars | Anything needing a crust | Quick cleanup |
My own drawer: silicone cups for muffins and egg bites, a 6-inch metal round for cakes I want a proper edge on, and paper liners when I cannot face washing anything. There is no single winner here.
Never overcook again
Get our one-page times & temps cheat sheet, plus a new tested recipe each week.
No spam · unsubscribe anytime
Recipes worth trying in silicone first
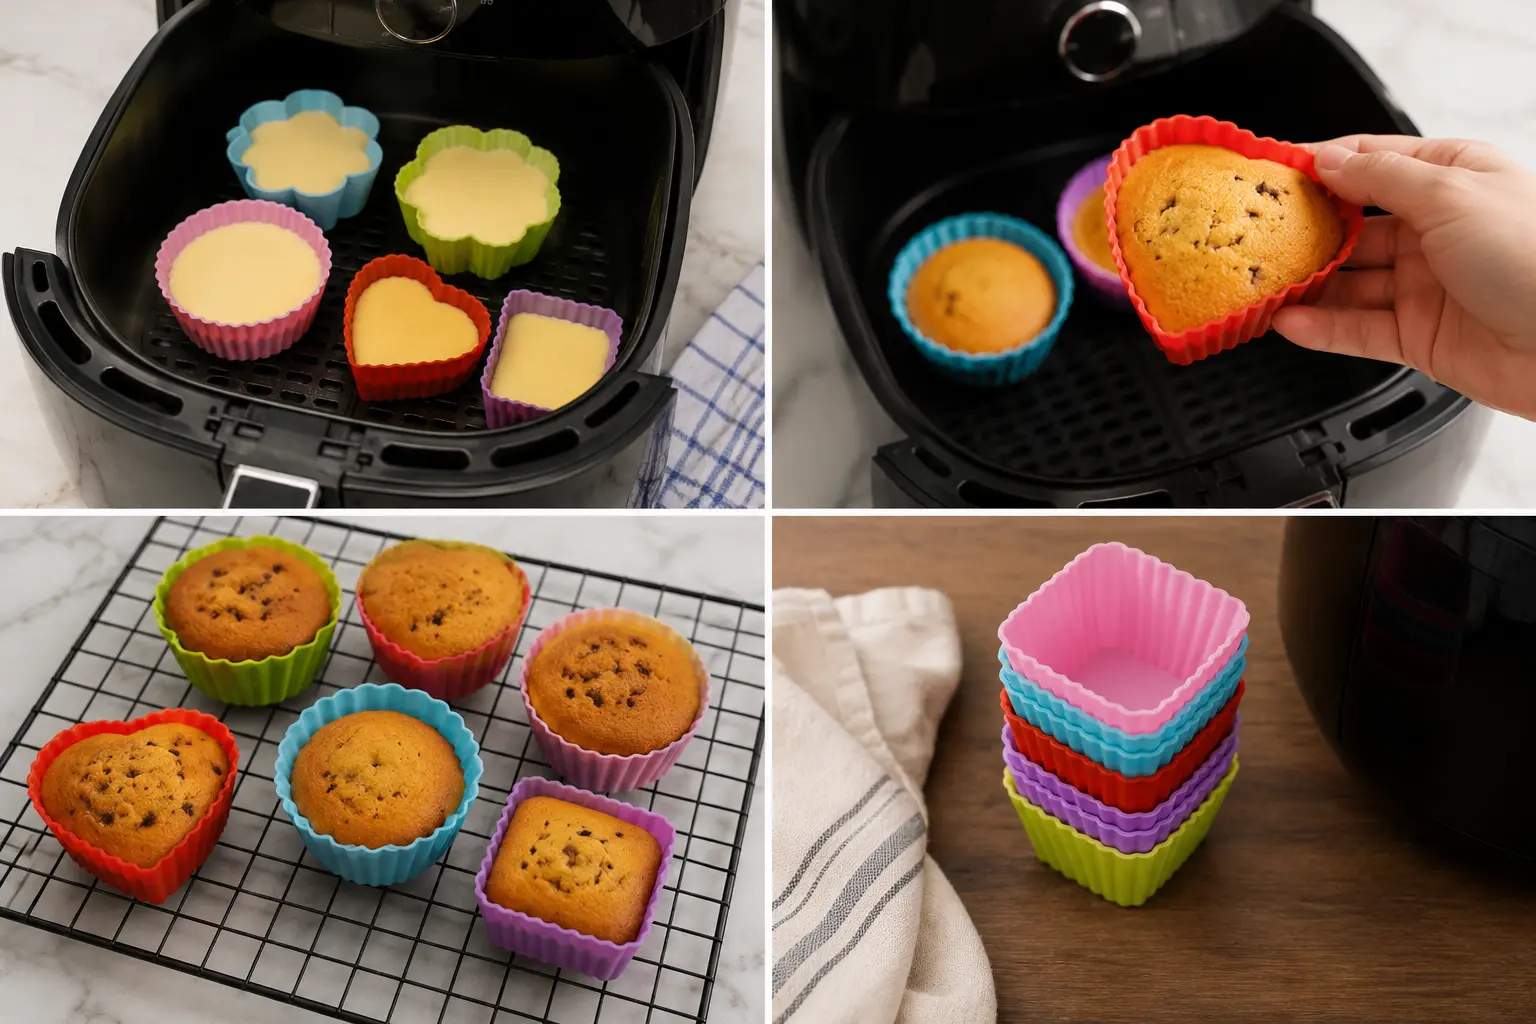
If you want to see the difference for yourself, these three are the ones where silicone genuinely beats metal in my kitchen. Lava cake is the best case of all, because unmolding a molten center intact is exactly the thing silicone does better than a ramekin. Banana muffins and carrot muffins both release perfectly with no liners at all. And brownies lift out whole in a way that makes cutting clean squares easy for once.
Frequently asked questions
QCan you put silicone molds in an air fryer?
Yes. Food-grade silicone is rated for continuous use up to around 446°F (230°C), and most air fryers max out at 400°F, so you have comfortable headroom. Keep the mold clear of the heating element, leave about half an inch of space around it for airflow, and never put an empty mold in a preheating basket, since the fan will lift it.
QWhat temperature can silicone molds handle?
Food-grade silicone handles roughly −76°F to 446°F (−60°C to 230°C) in continuous use. You will see higher figures quoted, up to 500°F, but those usually refer to brief peak exposure or are marketing claims. Since air fryer baking almost never exceeds 375°F, the rating is rarely the limiting factor. The quality of the silicone matters more than the number.
QHow do I know if my silicone mold is good quality?
Pinch a flat section and twist it hard. If the stressed area turns white, the material contains fillers and is lower grade. If it holds its color, that is a good sign.
On the packaging, look for a stated temperature rating, "platinum cured", and LFGB or FDA 21 CFR 177.2600 certification. Treat the pinch test as a quick screen rather than a definitive safety verdict; formal grading is done through chemical migration testing, not by hand.
QDo I need to grease silicone molds?
Not strictly, but a light spray helps. Silicone is naturally non-stick, so plain cake batter releases fine without it. Sticky, sugary, or egg-based mixtures release more cleanly with a light greasing, and it makes washing up quicker. Do not pour oil in; a thin spray or a wipe with a paper towel is enough.
QWhy is the bottom of my bake pale and soggy in a silicone mold?
Because silicone insulates instead of conducting heat. Where a metal pan drives heat into the batter and browns the base, silicone keeps the base in a warm pocket, so it cooks gently and never colors. Set the mold on a rack or trivet so air can move underneath, add 2 to 3 minutes, and drop the temperature about 10°F. If you genuinely need a browned bottom, use metal.
QDo silicone molds take longer to cook than metal pans?
Yes, typically 2 to 6 minutes longer depending on what you are baking. Muffins need about 2 to 3 extra minutes, cakes 4 to 6, brownies 3 to 4. Pair the extra time with a temperature about 10°F lower than the metal-pan setting, so the top does not overshoot while the insulated base catches up.
QDo silicone molds block airflow in an air fryer?
Yes, underneath. A solid mold sits between the food and the air coming up through the basket floor, which is why anything meant to be crisp does badly in one. It is not a problem for muffins, egg bites or brownies, which do not need bottom airflow. Leave half an inch of clearance around the mold, and raise it on a trivet if you have one.
QCan I use silicone liners for fries and chicken wings?
You can, but you should not, because it defeats the point. Crisping depends on hot air reaching every surface, and a silicone liner blocks the entire bottom, trapping steam where you want dry heat. Cook crisp foods on the bare basket. If you have already started in a liner, tip the food onto the bare basket for the last 3 to 4 minutes and you will recover most of the crunch.
QHow full should I fill a silicone mold?
Two-thirds, and no more. Batter rises slightly more in silicone than in metal because the flexible walls flex outward as it expands. Overfilling spills batter into the basket, where it burns onto the floor and taints the next few cooks. For egg bites, three-quarters is fine since eggs rise less.
QHow do I get the smell out of a silicone mold?
Run the clean, dry, empty mold in the air fryer at 250°F for 10 minutes; the gentle heat drives off absorbed oils. For stubborn cases, coat it in a baking soda and water paste, leave it an hour, then scrub. Persistent odor is itself a sign of lower-grade silicone, since cheaper filled material is more porous.
QWhen should I throw a silicone mold away?
When it feels sticky or tacky to the touch after being properly cleaned, when it holds a smell you cannot remove, or when it has cracks, tears, or scorch marks from touching the element. Sticky silicone is degrading silicone. A good mold used a few times a week should last several years before any of that happens.
QAre silicone molds better than metal pans for air fryer baking?
Neither is better overall; they are good at different things. Silicone wins on release and cleanup, and suits muffins, egg bites, bars and lava cakes. Metal wins on browning and crust, so it is the right choice for cakes with a proper edge, breads, and anything you want colored on the bottom. Most people end up owning both.
If you take one thing from this guide, make it the temperature and time adjustment: 10°F lower and a few minutes longer than the same recipe in metal. That single change fixed the pale, damp muffin bottoms that nearly made me throw the mold away. For more on getting bakes right in this machine, start with how to bake in an air fryer, keep the baking times and temps chart nearby, and run any oven recipe through the air fryer calculator before you adjust for silicone. If something has gone wrong before, troubleshooting air fryer baking and what you can and can't bake are the two guides I would read next.
You can also follow me on Instagram and Pinterest for more easy air fryer recipes.
Was this guide useful?