

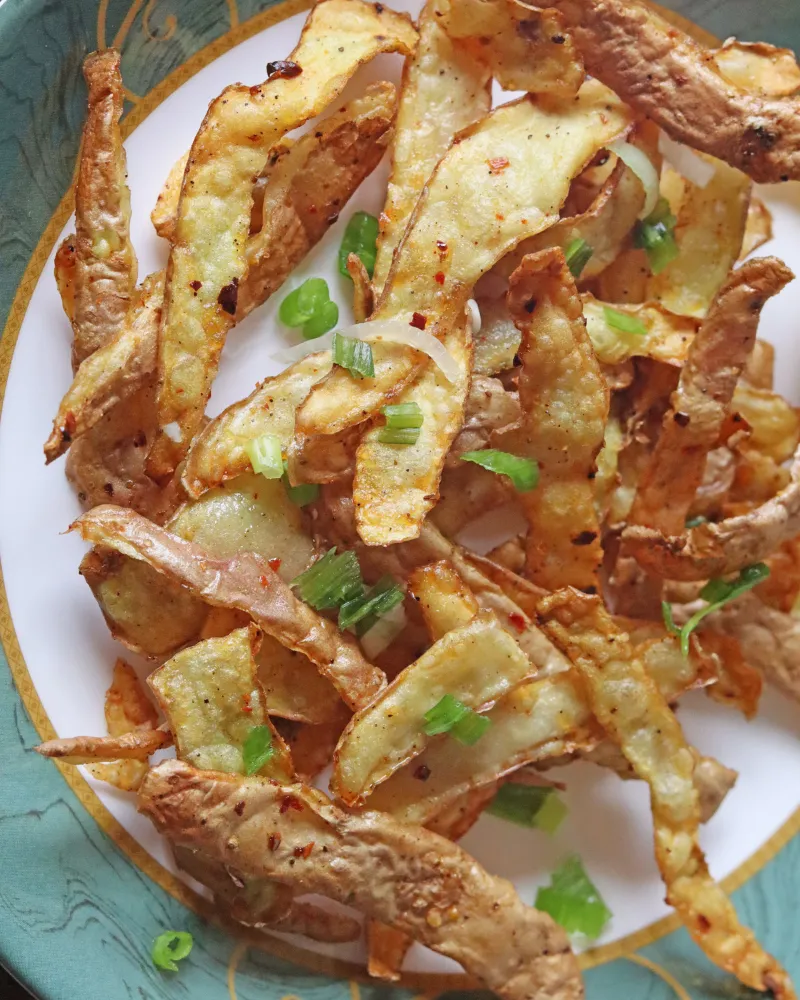
I started making these for the reason everyone does. I had peeled five pounds of potatoes for a roast, I was looking at a colander of skins, and throwing them out felt stupid. The first batch came out half burnt and half chewy, which I assumed meant I had done something wrong.
I had not, particularly. That is just what happens when you cook peels using potato chip logic, and potato chip logic is what almost every recipe for this hands you.
Quick answer: Scrub the potatoes before peeling, dry the peels properly, toss with 2 teaspoons of oil for four potatoes' worth, and air fry at 370°F (188°C) for 6 to 9 minutes, tossing every 2 minutes. Salt them the moment they come out, not before. Pull them while the thickest pieces still look slightly underdone, because they keep crisping as they cool. Throw away any peel that is green.
A peel is not a potato chip
A potato chip is a slice. It has two faces and a small amount of potato in between, and that middle bit acts as a buffer. It holds water, it absorbs heat, and it gives you a margin of maybe thirty seconds between golden and gone.
A peel has almost no middle. It is a millimeter or two of skin and the thin layer of flesh that came off with it, which means it is nearly all surface. Two things follow from that, and the whole method comes out of them.
It dries out almost immediately
There is very little water in a peel to begin with. Once that water is gone the temperature of the peel stops being capped at 212°F and climbs straight to whatever the air is doing.
Then it has nothing to absorb heat
No thermal mass means no buffer. A chip gives you half a minute of grace. A peel gives you about ten seconds between properly crisp and bitter.
And they are not the same thickness
Every peel has a thin edge and a thicker spine. The edges finish first and start burning while the spines are still leathery. That is the half-burnt, half-chewy batch.
So the goal is not to cook them hard and fast. It is to get every piece through the drying stage at roughly the same rate and then stop, which is why the tossing in this recipe is every two minutes rather than the single shake halfway that most versions tell you to do.
This is the same principle behind our air fryer potato chips, only pushed to an extreme. If you want a proper bowl of chips rather than a scrap snack, start there. This page is for the skins you would otherwise bin.
The peels you should throw away
I read through the whole first page of results for this recipe before writing it, and not one of them mentions this. For a recipe whose entire premise is eating the part of the potato you normally discard, that is a strange thing to leave out, so here it is.
Potatoes make two natural compounds called solanine and chaconine. They are the plant's defense chemistry, and they are not spread evenly through the potato. They concentrate in the skin and in the few millimeters directly beneath it, along with the eyes and any sprouts. In other words, they concentrate in precisely the part you are about to turn into a snack.
In a normal potato the amount is small and nobody thinks about it. The amount goes up sharply when a potato has been exposed to light, and the visible signal for that is the potato turning green. The green itself is chlorophyll and is harmless. It is just the flag: whatever made the chlorophyll also made more of the other two.
The part that surprises people: you cannot cook this out. Solanine is stable at ordinary cooking temperatures, so air frying a green peel gives you a crispy green peel. Peeling deeper does not fix a badly greened potato either, because the green often runs several millimeters down.
The other reliable warning sign is taste. A bitter or burning taste in a potato peel is not the seasoning. Spit it out and bin the batch.
None of this is a reason to skip the recipe. It is a reason to be a bit selective about which potatoes you take peels from, which costs you nothing:
- Skip any peel with green on it. Not trim it, skip it. If the potato has a small green patch, peel it deeply, throw those peels out, and use the rest of the potato normally.
- Skip sprouted potatoes for this. The potato itself is usually fine once you cut the sprouts and the flesh around them out, but the skin of a sprouting potato is not what you want to be eating a bowl of.
- Skip the eyes. Cut them out before peeling rather than letting them end up in the bowl.
- Buy potatoes that have been stored in the dark and store them that way at home. Light is what starts the whole process. A paper bag in a cupboard, not a wire basket on the counter.
- Scrub before peeling. You are eating the outside of the vegetable, so give it a proper scrub under running water with a brush, not a rinse.
Do that and you have a snack made of the most nutrient dense part of the potato, which is genuinely the good news here. The skin carries most of the fiber, a good share of the potassium and the majority of the iron. It is the one scrap-cooking claim that actually holds up.
Peel thickness decides everything
This is the variable that explains why two people follow the same recipe and get different results, and almost nobody calls it out.
Your peeler determines your cooking time more than your air fryer does. A cheap swivel peeler takes off about a millimeter. A sharp Y-peeler takes off a bit more. A knife takes off two or three millimeters and a good deal of flesh with it. Those are not small differences when the whole item is only a millimeter or two thick to start with. Going from 1mm to 2mm does not add a little time, it roughly quadruples it, because heat has to travel through a solid and that goes with the square of the thickness.
| How you peeled | Rough thickness | Time at 370°F | What you get |
|---|---|---|---|
| Swivel peeler | About 1mm | 5 to 6 min | Shatter-crisp, closest to a chip |
| Sharp Y-peeler | 1 to 1.5mm | 6 to 8 min | Crisp with a little chew. My preference |
| Blunt peeler | Uneven, 1 to 3mm | Unpredictable | The half-burnt, half-chewy batch |
| Paring knife | 2 to 3mm | 9 to 12 min | More like a potato skin than a crisp |
If your peeler is blunt, that is the single cheapest fix on this page. A blunt peeler does not produce thick peels, it produces peels of five different thicknesses, and no cooking time works for all of them at once.
Length matters too, in a way that is easy to miss. Long ribbons curl into spirals and the spiral traps steam in the middle, so the inside of the curl stays soft. Snap anything longer than about three inches in half before it goes in.
Ingredients
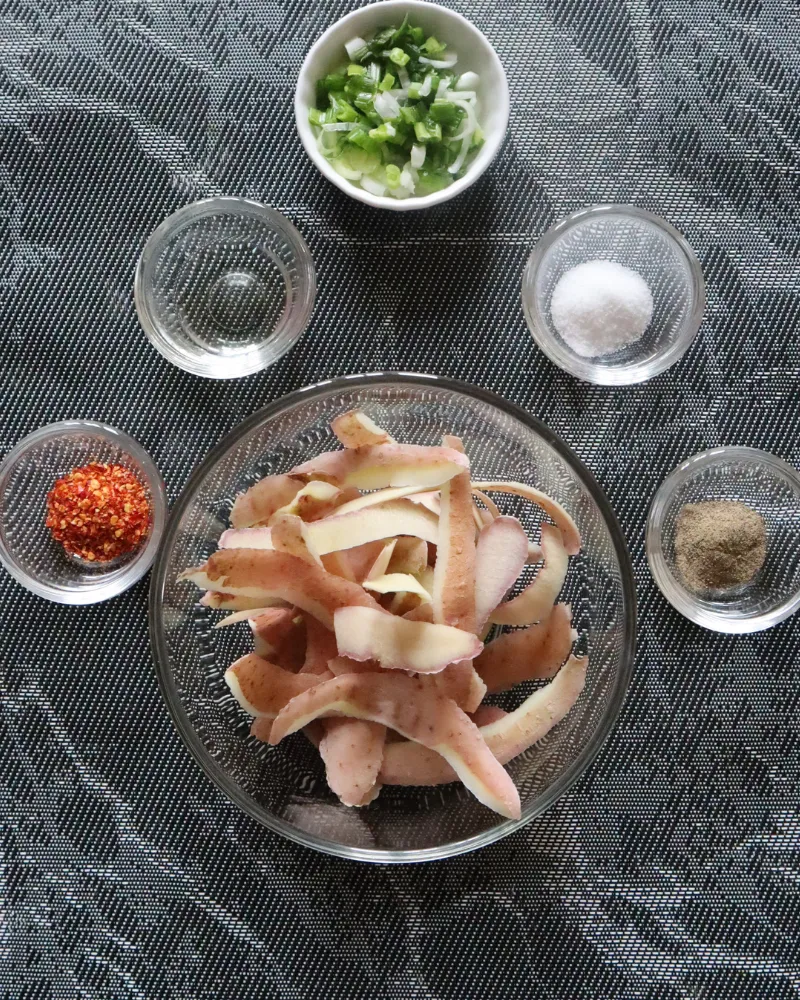
Three things, and one of them is the potatoes you were peeling anyway.
- Peels from 4 large russet potatoes, about 4 oz / 115g of peels, scrubbed before peeling
- 2 teaspoons neutral oil (avocado, canola, refined olive)
- 1/4 teaspoon fine salt, for after they come out
- Optional: black pepper, garlic granules, smoked paprika, or malt vinegar powder
Two notes that matter more than they look
- Two teaspoons of oil, not a tablespoon. Most published versions of this call for a full tablespoon for a similar quantity, and the result is peels that go limp and greasy rather than crisp. Oil here is doing one job, which is conducting heat evenly across a very thin surface and giving it something to brown with. Past a thin coat, extra oil just sits there, drips into the drawer and smokes. If you are getting smoke from your air fryer, too much oil dripping onto hot metal is the usual reason.
- Choose an oil that can take 370°F. Refined avocado, canola or grapeseed are all comfortable. Extra virgin olive oil starts breaking down around 375°F, so it is right on the edge and will taste harsh if your machine runs hot. Butter is well out of the question at this temperature.
How to make them
- Scrub the potatoes. Under running water with a brush, properly. Everything on the outside of the potato is going in the bowl, so this is not the step to be casual about.
- Check them over. Bin anything green, cut out the eyes and any sprouts before you start peeling. Two seconds of looking.
- Peel. A sharp peeler, long strokes, into a bowl. Snap anything longer than about three inches in half so it cannot curl into a spiral.
- Dry them. Spread the peels on a clean tea towel or a few sheets of paper towel, put another on top and press. Get them properly dry, not damp. This is the step that decides whether you get crisp peels or steamed ones, and it is covered in more detail below.
- Preheat to 370°F (188°C) for 3 minutes. Peels are too thin to survive a slow warm-up. In a cold basket they dry out and go leathery before there is enough heat to crisp them.
- Oil them. Two teaspoons in the bowl, then toss with your hands rather than a spoon so every piece gets a thin film. No salt yet.
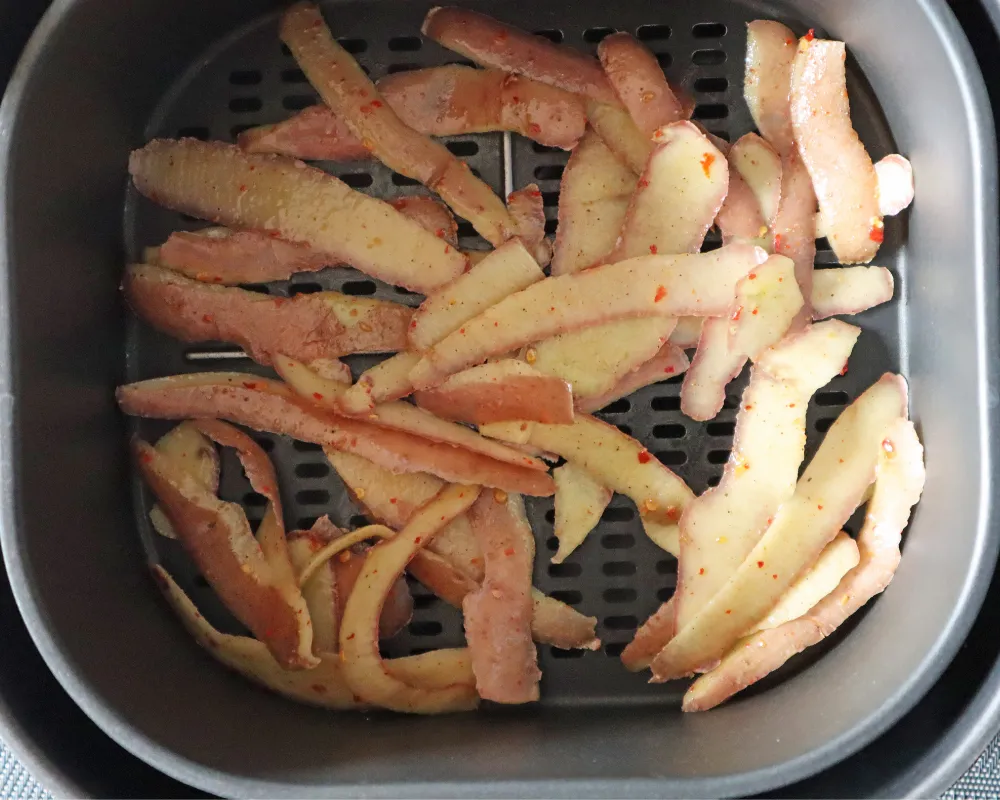
- Spread them in a single layer. Not a heap. Where two peels overlap you get a pale steamed patch instead of a crisp one, exactly as with air fryer pasta chips. Cook in two batches if you have to, they only take a few minutes.
- Air fry 6 to 9 minutes, tossing every 2 minutes. Every two, not once halfway. Peels nest and curl as they shrink, and each toss re-exposes the surfaces that were hidden.
- Start looking at 5 minutes. Go by color and sound, not the clock. They should be golden with darker edges, and they should rattle rather than rustle when you shake the basket.
- Pull them slightly early. When the thinnest pieces are done and the thickest still look a shade underdone, take the whole lot out. They carry on crisping for a minute or two as the last of the water leaves.
- Salt immediately. Tip them into a bowl and salt while the oil is still warm and wet, which is the only time salt actually sticks. Then eat them, ideally within the hour.
Why salt at the end rather than the start. Salt draws water to the surface of anything it sits on. On a thick cut of potato that barely matters. On something a millimeter thick, that water has to be evaporated off before the peel can start crisping, so salting raw peels means you spend part of your cooking time undoing your own seasoning. Salt them hot, out of the basket, in the thirty seconds while the oil film is still tacky. This is how chip factories do it too.
Drying matters more than oil
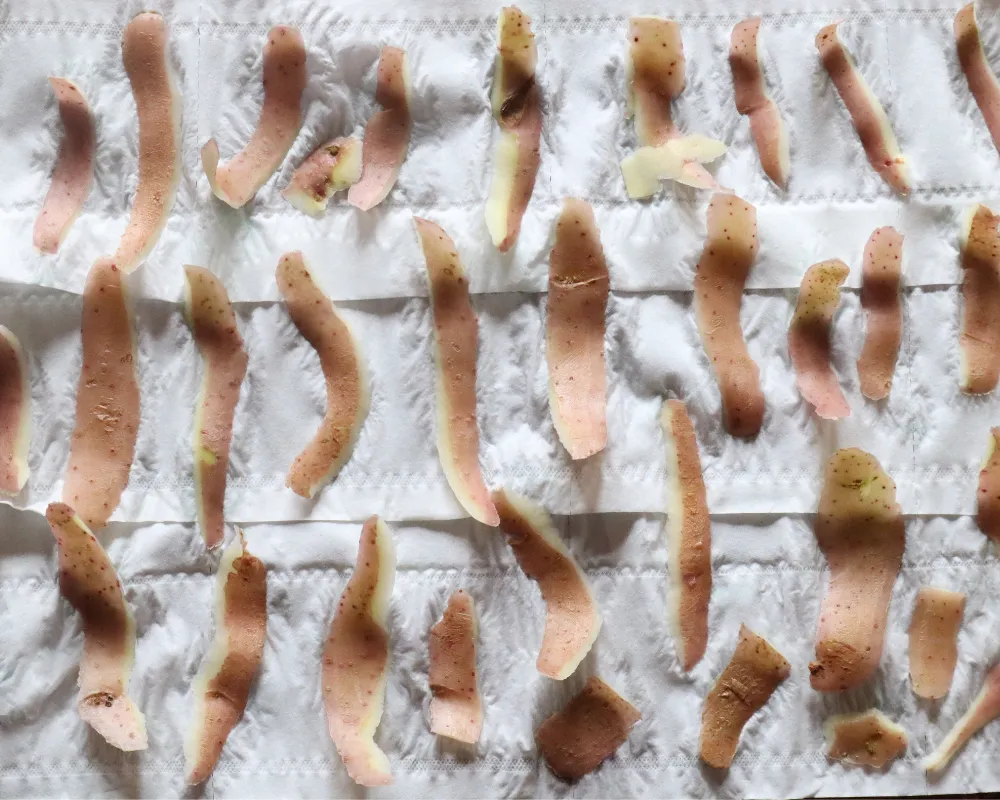
If you only change one thing about how you have been doing this, dry the peels.
Wet peels cannot brown. A surface with free water on it sits at 212°F and stays there until that water has gone, because the energy going in is being spent on evaporation rather than on raising the temperature. Browning does not really get going until around 285°F. So every second of surface water is a second where nothing useful is happening, and on something this thin you do not have many seconds to spare before the piece starts drying out from the inside instead.
Damp peels also stick to each other, which undoes the single layer you just carefully arranged, and they stick to the basket, which is annoying to clean. Our air fryer cleaning guide covers getting starch off a mesh basket if you have already learned that the hard way.
There is a second, smaller reason that is specific to peels. Peeling releases surface starch, and wet starch on the outside of a peel turns into a slightly gluey film as it heats. Patting the peels dry takes most of that off with the water. Some people rinse the peels first for this reason, which does work, but then you have to dry them twice as thoroughly and I have never found it worth the extra step.
Why every recipe gives a different temperature
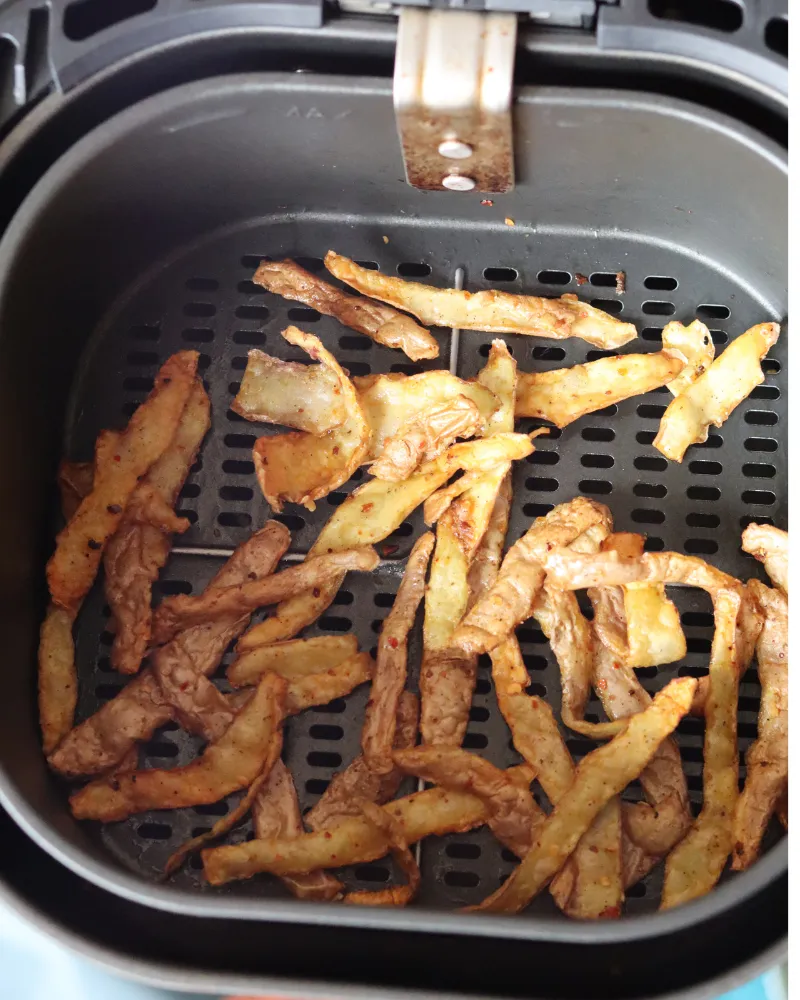
Look across the published recipes for air fryer potato peels, or air fried potato peels depending on who is writing them up, and the numbers are all over the place. I found 360°F for six minutes, 380°F for seven, 390°F for six to nine, and 400°F for ten. One well known site runs eighteen minutes at 360°F and then another five at 400°F, which is twenty three minutes of cooking for something with almost no mass in it.
They are not all wrong. They are describing different peels. Someone using a swivel peeler on waxy potatoes and someone using a knife on big russets are cooking two genuinely different things, and because nobody states the thickness, the times look contradictory when they are actually just unlabeled.
| Temperature | What happens | Verdict |
|---|---|---|
| 340 to 350°F | Dries them gently and evenly, but browning is slow and they can go leathery before they go crisp. | Too low on its own |
| 370°F | Fast enough to brown, slow enough that the thin edges are not finished before the spines have dried. | The number I use |
| 390 to 400°F | Works, and it is quick, but the window between crisp and bitter is only a few seconds. Fine if you stand there. | Only if you are watching |
| Two stage, low then high | Sound in principle, and it is what you would do for thick-cut fries. On something 1mm thick there is nothing to dry slowly. | Overkill here |
370°F is a compromise chosen for the fact that your peels are uneven, because everyone's are. If you have unusually consistent thin peels and you like standing at the machine, 390°F for five minutes is better. If your peels are thick, go to 350°F and give them longer rather than turning the heat up, which only browns the outside of a piece that is still damp inside.
Converting from an oven recipe? If you found a potato skin recipe written for a conventional oven, run its numbers through our air fryer conversion calculator first. For peels I would then take another 10°F off whatever it gives you, because the standard conversion assumes food with some mass to it and peels have none. Our air fryer temperature chart has the tested numbers for everything else on the site in one place.
How many potatoes you actually need
Worth being straight about, because the photos on recipes for this tend to suggest a generous bowl and the reality is a handful.
Four large russets give you roughly 4 ounces of raw peels, which is about two loosely packed cups. They lose most of their water in the basket and shrink to something like a third of that volume. What comes out is a small snack for two people, or one person who is not sharing.
| Potatoes peeled | Raw peels | Cooked volume | Feeds |
|---|---|---|---|
| 2 large russets | About 2 oz | A small handful | 1 as a nibble |
| 4 large russets | About 4 oz | A generous handful | 2 as a snack |
| 8 large russets | About 8 oz | A small bowl | 4, in two batches |
You cannot fix a small yield by piling the basket higher. Peels only crisp in a single layer, so more peels means more batches, not a fuller basket. If you are scaling a batch up or down and want the arithmetic done for you, the recipe scaler will handle it.
This is a by-product recipe and it works best treated as one. It is what you make on a night you were already peeling potatoes for hash browns or a roast. If you set out to make peel chips on purpose you will find yourself peeling eight potatoes and wondering what to do with eight naked potatoes, which is a worse problem than the one you started with.
Fixing what goes wrong
| What you got | Why | Fix |
|---|---|---|
| Half burnt, half chewy | Uneven peel thickness. The classic, and it is your peeler, not your air fryer. | Sharpen or replace the peeler. Toss every 2 minutes instead of once. |
| Chewy and leathery all through | They were damp going in, or piled up, so they steamed instead of drying. | Dry properly, single layer, cook in batches. |
| Crisp at first, soft ten minutes later | Pulled before enough water had left. The residual moisture redistributes and softens them. | Another minute, and let them sit uncovered rather than in a bowl. |
| Bitter | Either burnt, or green peel got in. If they look fine and still taste bitter, it is the second one. | Bin them. See the section above. |
| Greasy | Too much oil. A tablespoon is roughly three times what this needs. | 2 teaspoons for four potatoes' worth, tossed by hand. |
| Stuck to the basket | Wet starch on the peels, which glues as it heats. | Dry them thoroughly. A light spray on the basket helps too. |
| Smoking air fryer | Excess oil dripping through onto the drawer, or an oil that cannot take 370°F. | Less oil, and a refined one. More in why your air fryer smokes. |
| They fly around the basket | Peels are light and the fan is strong. Common in small basket models. | Oil them properly, which weighs them down, and do not overfill. |
| Salt fell straight off | Salted them cold, after the oil film had set. | Salt within 30 seconds of them leaving the basket. |
The general version of the burning problem is worth reading if this keeps happening to you across different foods, since thin light items are the ones air fryers are hardest on: how to prevent burning in an air fryer.
Seasonings and dips
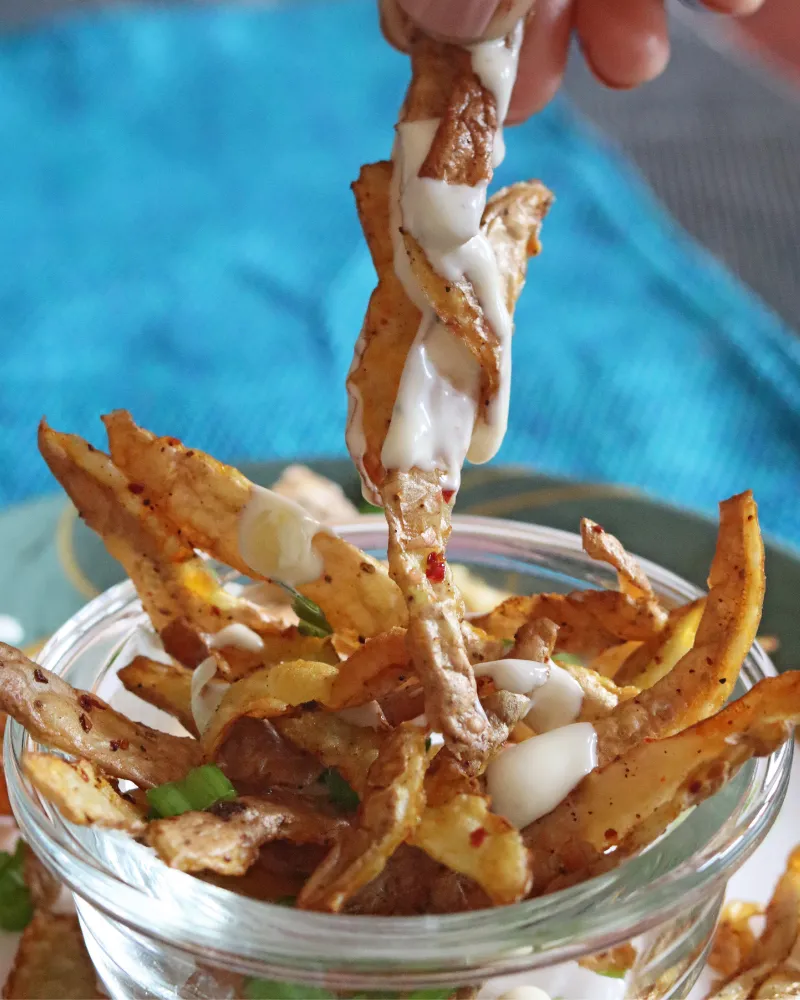
Salt on its own is genuinely hard to beat, but the surface area that makes peels tricky to cook also makes them extremely good at holding seasoning. A little goes a long way.
- Salt and vinegar. Malt vinegar powder tossed on hot with the salt. Liquid vinegar will soften them within a minute, so it has to be the powder.
- Smoked paprika and garlic. Half a teaspoon of smoked paprika and a quarter of garlic granules, added with the salt at the end.
- Loaded skins. Once crisp, scatter with cheese and put them back for 60 seconds, then top with chives and sour cream. Closer to a potato skin than a crisp, and very good.
- Rosemary and black pepper. Dried rosemary crushed between your fingers. Fresh rosemary burns at this temperature.
- Cajun or Old Bay. Both work, both are salty already, so cut the added salt.
- Dips: sour cream and chive, garlic aioli, or a sharp cheddar sauce. Anything wet will soften them, so dip as you eat rather than dressing the bowl.
If crisp savory things from the air fryer are your thing, the same single-layer, watch-it-closely logic covers air fryer tortilla chips and air fryer croutons, and for potatoes with actual substance to them there are accordion potatoes and tater tots.
Storage and re-crisping
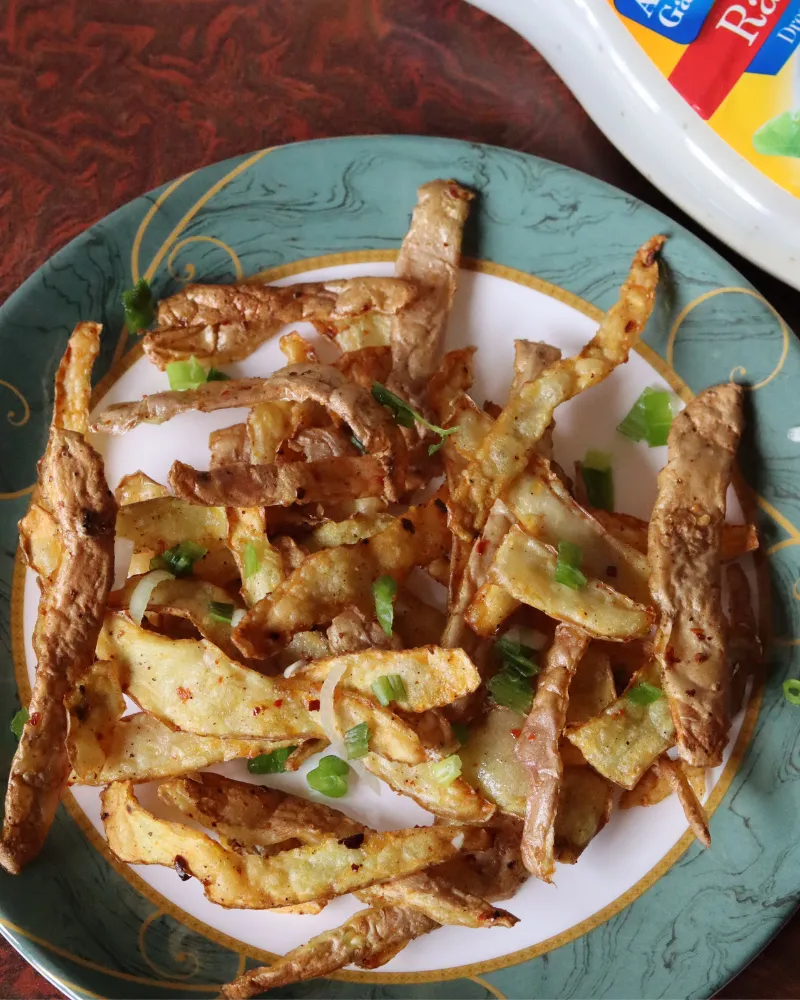
- Best within the hour. Not me being precious. Peels have no interior to hold their texture, so they pick up moisture from the air faster than almost any other snack.
- Room temperature: one day in an airtight container, once completely cool. Warm peels in a sealed box steam themselves soft in minutes.
- Do not refrigerate. A fridge is humid and cold, which is the worst combination for anything crisp.
- Re-crisping: 2 to 3 minutes at 350°F brings them back properly. No oil needed, there is still plenty on them.
- Raw peels keep in cold water in the fridge for a day if you are not cooking them straight away. Dry them very thoroughly afterwards, which is more work than it sounds.
Running the machine for eight minutes to cook something you were about to throw away is close to free, but if you want the actual number for your electricity rate, the running cost calculator will work it out. All four of our air fryer tools are in one place, including the pan size checker if you want to know what will fit in your basket.
Frequently asked questions
QAre potato peels safe to eat?
Yes, with one real exception. Potato skin is the most nutrient dense part of the potato, carrying most of the fiber and a large share of the potassium and iron. The exception is green or sprouted potatoes. Potatoes produce solanine and chaconine, and those compounds concentrate in the skin and the few millimeters beneath it, which is exactly what you are cooking here. Greening is the visible signal that a potato has been exposed to light and made more of them. You cannot cook it out, because solanine is stable at ordinary cooking temperatures. Throw away any peel with green on it, skip sprouted potatoes for this recipe, cut out the eyes, and scrub the potatoes before you peel them.
QHow long do you air fry potato peels?
6 to 9 minutes at 370°F (188°C), tossing every 2 minutes, and start checking at 5. The wide range is not vagueness, it is peel thickness. A swivel peeler takes off about a millimeter and those are done in 5 to 6 minutes. A paring knife takes off two or three millimeters and those need 9 to 12. Heat travels through a solid with roughly the square of the thickness, so doubling how deep you peel does far more than double the time. Go by color and sound rather than the timer: they should be golden with darker edges and rattle rather than rustle when you shake the basket.
QWhy are my air fryer potato peels not crispy?
Almost always moisture, in one of two forms. Either the peels went in damp, in which case the surface sat at 212°F evaporating water instead of browning, or they were piled up rather than in a single layer, so the ones underneath steamed. Dry the peels properly between towels, spread them in one layer even if that means two batches, and toss every 2 minutes so the surfaces that were hidden get exposed. The third possibility is that you pulled them slightly early and the leftover water redistributed as they cooled, which turns a crisp peel soft about ten minutes later.
QWhat temperature is best for potato peels?
370°F (188°C). Published recipes range from 360°F to 400°F and they are not contradicting each other so much as describing different peels, since none of them state a thickness. 370 is the compromise that suits uneven peels, which is what everyone actually has. It is hot enough to brown properly but not so hot that the thin edges finish before the thicker spines have dried out. If your peels are unusually thin and consistent, 390°F for 5 minutes is quicker. If they are thick, drop to 350°F and give them longer rather than turning the heat up.
QDo I need to soak potato peels first?
No, and I would not. Soaking is standard advice for fries because it pulls surface starch out of a thick cut, which helps them crisp. A peel is almost entirely surface, so soaking waterlogs it, and then you have to dry it far more thoroughly than you would have needed to in the first place. Patting the peels dry with a towel removes most of the loose starch along with the water and takes about twenty seconds. If you do want to rinse them, dry them twice as carefully afterwards.
QShould I salt potato peels before or after air frying?
After, within about thirty seconds of them leaving the basket, while the oil film is still warm and tacky. Salt draws water to the surface of whatever it sits on, and on something a millimeter thick that water has to be evaporated off before the peel can start crisping, so salting raw peels means part of your cooking time goes on undoing your own seasoning. Salting cold does not work either, because nothing sticks to a dry cooled surface. This is how chip factories do it, and the difference is easy to taste.
QWhat kind of potatoes work best for peel chips?
Russets, comfortably. They have thicker, sturdier skin that holds together as a ribbon, and their lower moisture content means less water to drive off. Yukon Gold and other yellow potatoes work but their thinner skin tears more and cooks faster, so take a couple of minutes off. Red potatoes give the thinnest peels of all and burn quickly, so drop to 350°F if that is what you have. Sweet potato peels also crisp well but they carry more sugar, so they brown much faster and want 340°F and close attention.
QHow many potatoes do I need for a decent bowl?
More than the photos suggest. Four large russets give roughly 4 ounces of raw peels, about two loosely packed cups, and those shrink to around a third of that volume once the water has gone. That is a snack for two. Eight potatoes gets you a small bowl for four, but it has to be cooked in two batches because peels only crisp in a single layer. This works best as a by-product of a night you were already peeling potatoes rather than as something you set out to make, otherwise you end up with eight peeled potatoes and a new problem.
QCan I make these without any oil?
You can, and they will crisp, but they brown unevenly and taste noticeably flatter. Oil does two things here that matter: it conducts heat evenly across a very thin, uneven surface, and it gives that surface something to brown with. Without it the thin edges scorch while the spines stay pale. Two teaspoons across four potatoes' worth of peels is about half a gram of fat per serving, so it is not much to give up. If you are avoiding oil entirely, drop to 350°F, add a couple of minutes and toss more often.
QWhy do my potato peels stick to the basket?
Wet starch. Peeling releases starch onto the surface of the peels, and if that starch is still damp when it hits a hot basket it turns into a glue. Drying the peels thoroughly takes most of it off with the water. A light spray on the basket before the peels go in helps as well, though use a pump mister rather than an aerosol, since aerosol propellants pit air fryer nonstick over time. If you already have a basket with starch baked onto it, our air fryer cleaning guide covers getting it off.
QCan I keep the peels and cook them later?
For about a day, submerged in cold water in the fridge, which stops them browning. The catch is that you then have to dry waterlogged peels very thoroughly, and that is more work than the recipe itself. If you know you will not cook them within an hour or two, it is genuinely easier to cook them straight away and re-crisp later at 350°F for 2 to 3 minutes. Cooked peels keep a day in an airtight container at room temperature.
QDo potato peels work in an oven-style air fryer?
Yes, and better than in a basket in one respect, because a flat tray makes a single layer much easier to arrange and you can fit more in one go. Two things change. Airflow is gentler in an oven-style unit so the peels do not fly around, but they also brown more slowly, so add 2 to 3 minutes. And because they sit on a solid tray rather than a mesh basket, the undersides do not get direct airflow, so turning them halfway matters more, not less. Our comparison of basket versus oven-style air fryers goes through the difference.
Never overbake again
Get our one-page times & temps cheat sheet, plus a new tested recipe each week.
No spam · unsubscribe anytime